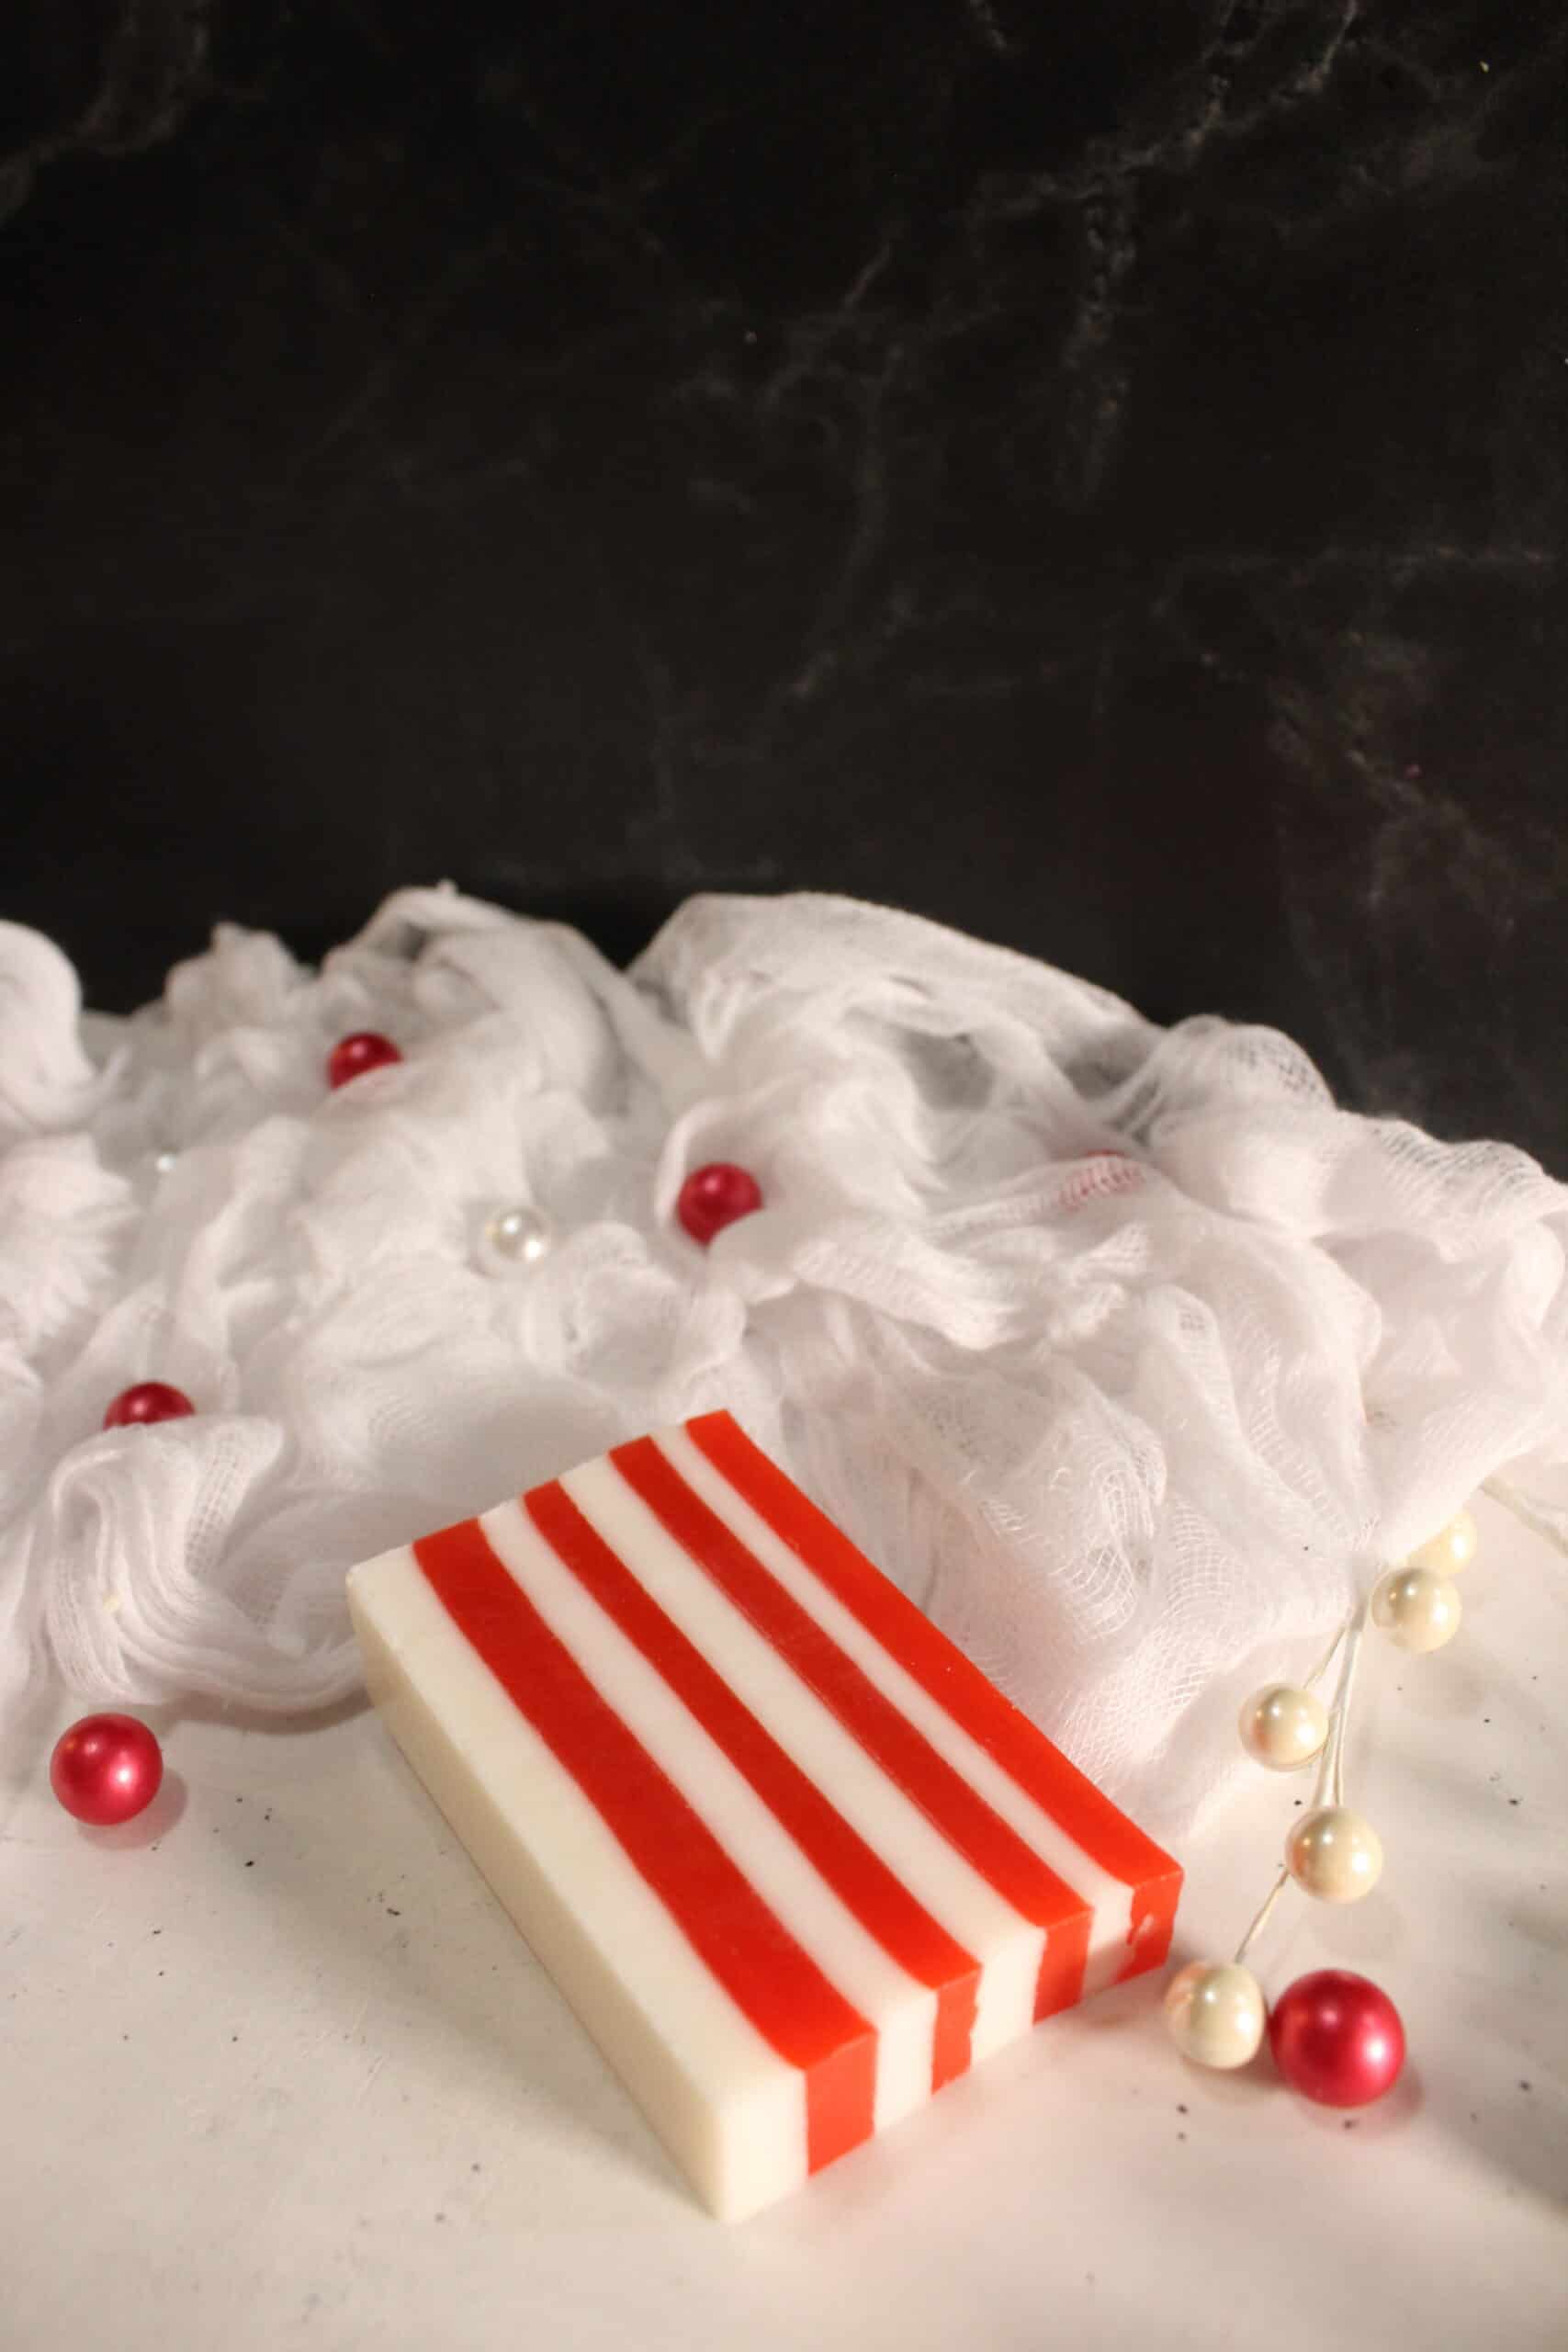
I make this Candy Cane Soap every December because it looks so cute and festive while being one of the easiest holiday DIYs ever.
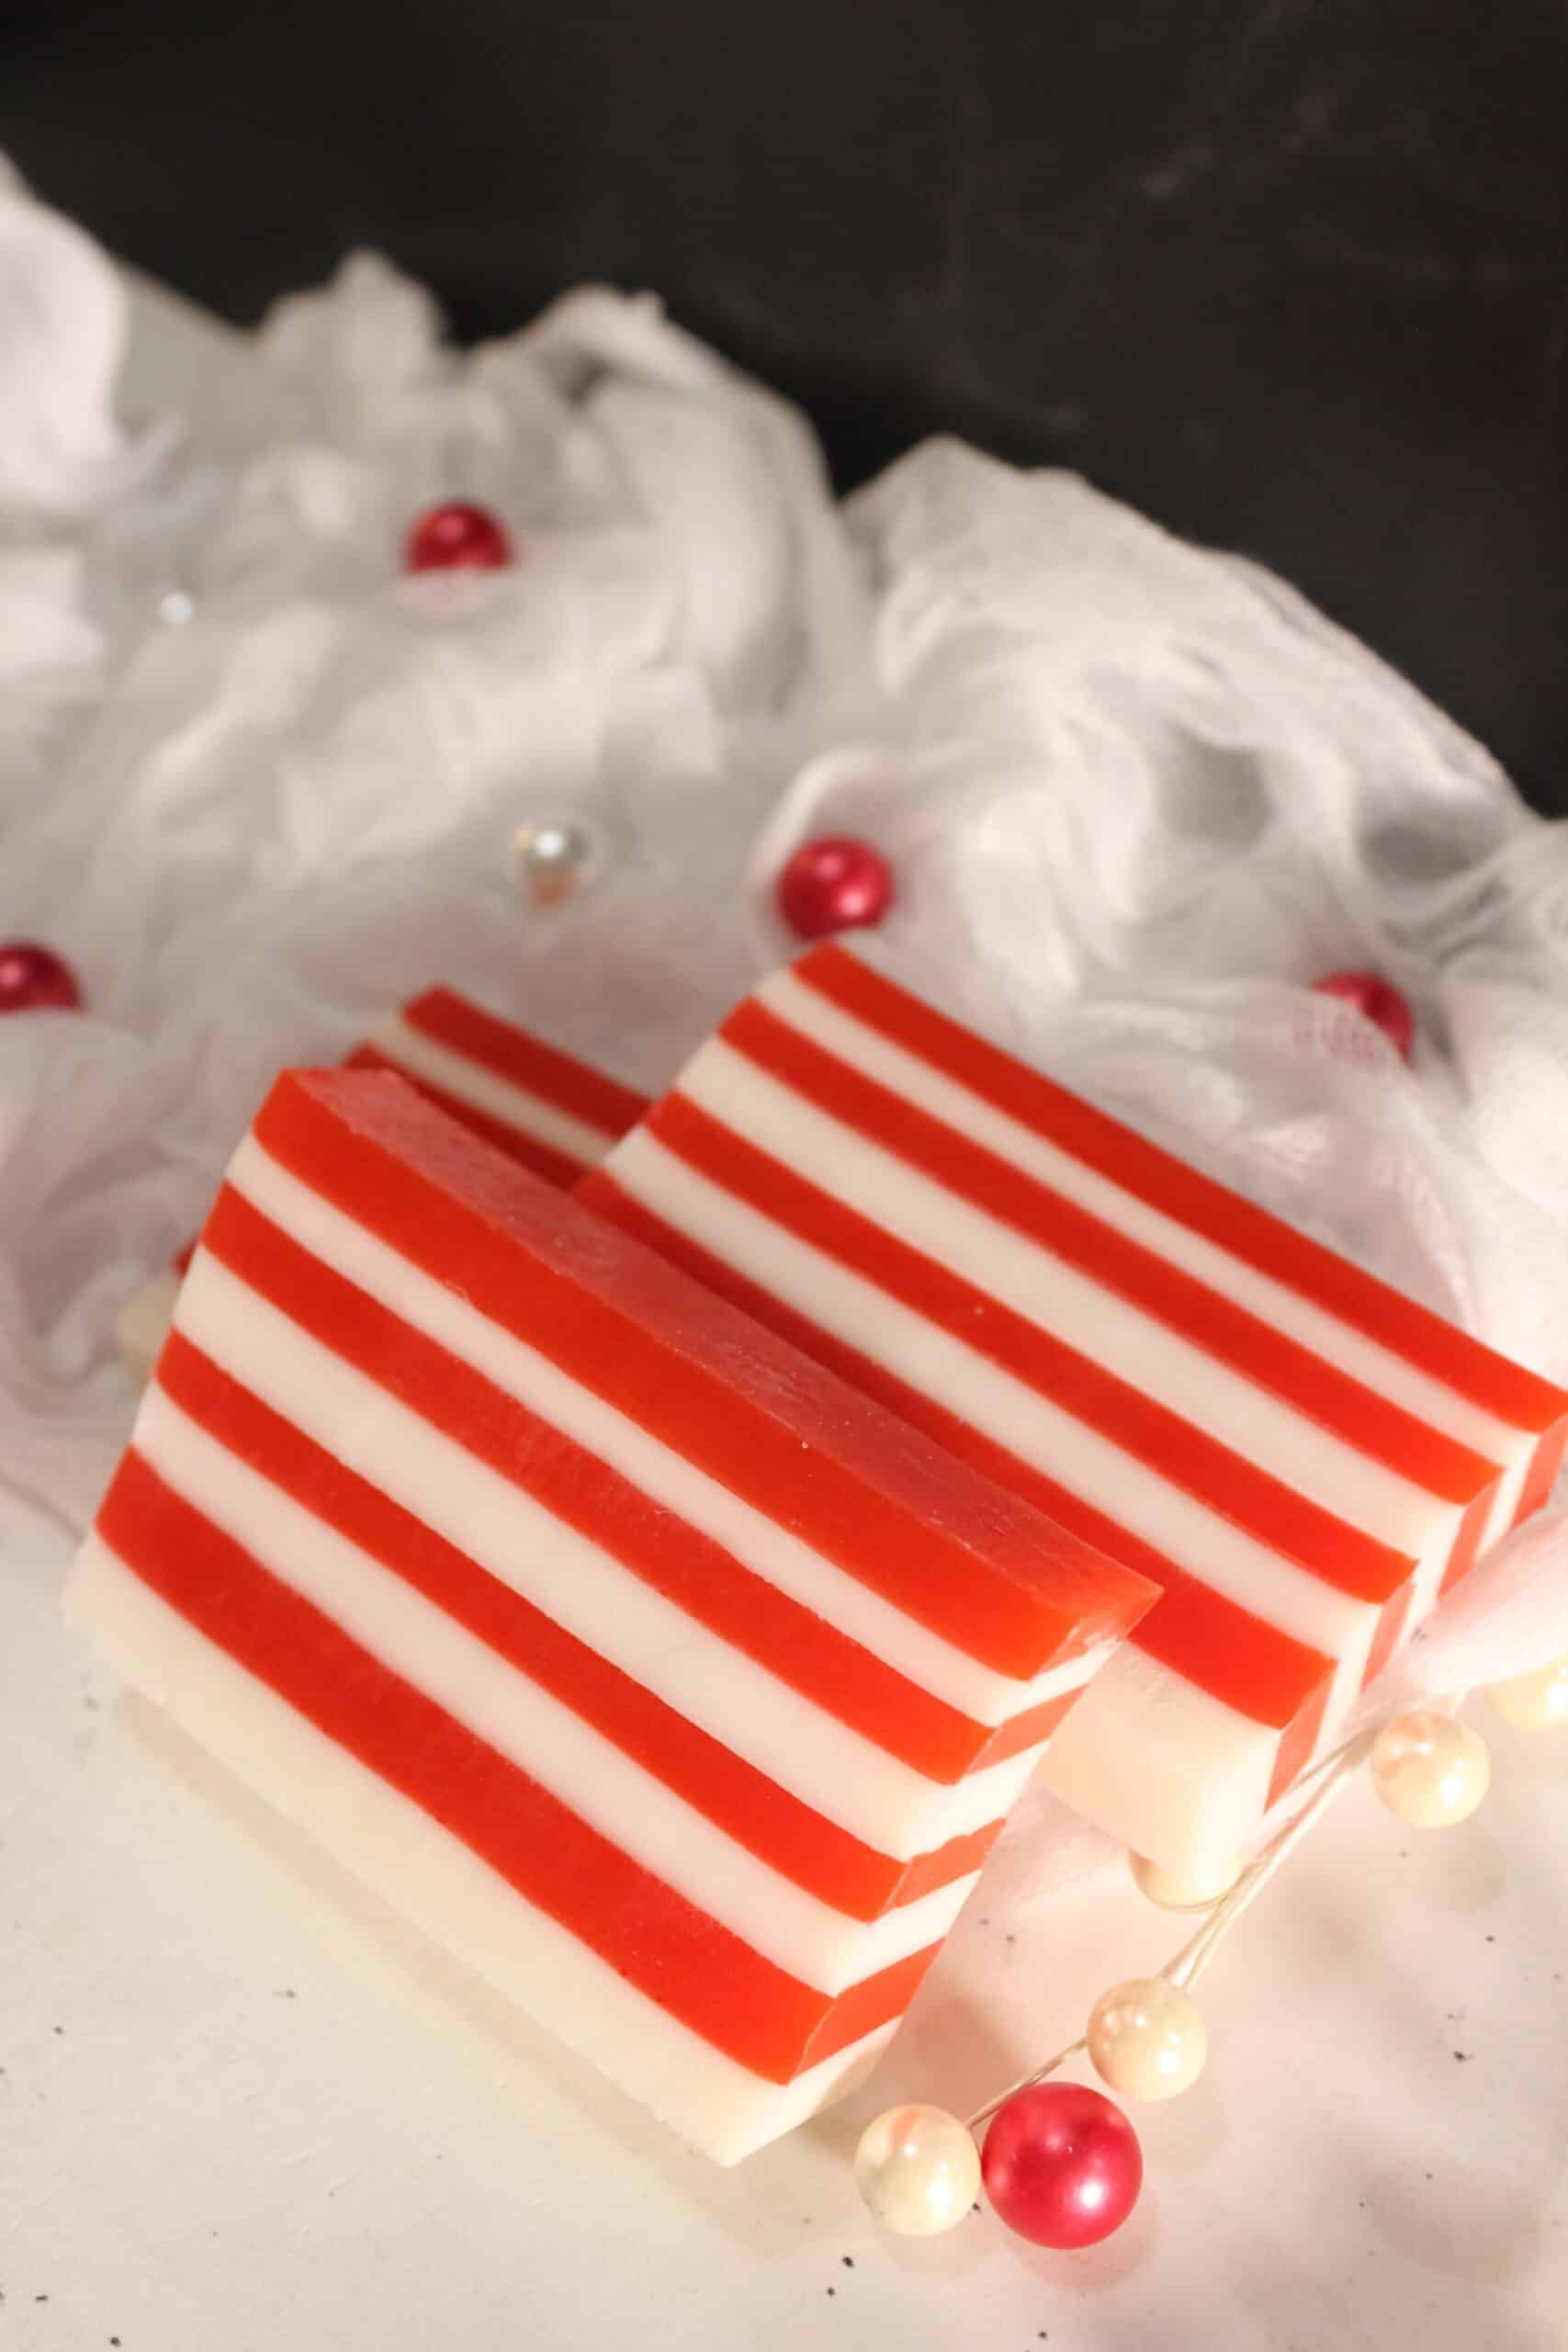
Peppermint anything instantly gives cozy holiday energy, and I love a project that looks aesthetic on your bathroom counter without taking a whole afternoon. This one smells amazing, layers beautifully, and makes you feel like you suddenly have your life together.
If you want a fun, beginner-friendly holiday craft that doubles as a gift, this one is perfect.
Things to Know Before Making Candy Cane Soap
- Melt and pour soap is the easiest base if you want smooth layers.
- Red mica gives the prettiest candy cane color without staining your skin.
- Do not let each layer fully harden or they may split.
- Reheat the soap base gently between layers to keep everything smooth.
I love this project because it looks fancy but is basically just melting, pouring, and waiting. The red and white stripes come out so cute every single time.
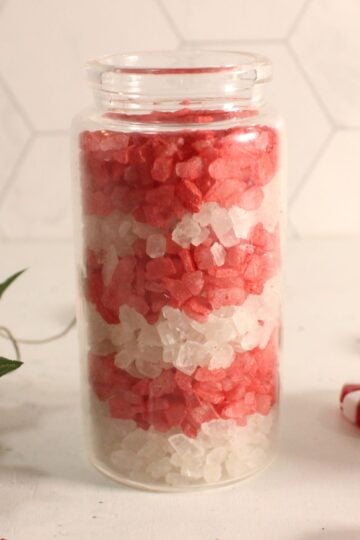
For the holidays, this DIY candy cake soap will go great with Candy Cane Bath Salts and will be a great addition to your DIY Christmas Gift Basket Ideas, Christmas Eve Box Ideas, and your DIY Christmas Gifts for Best Friends.
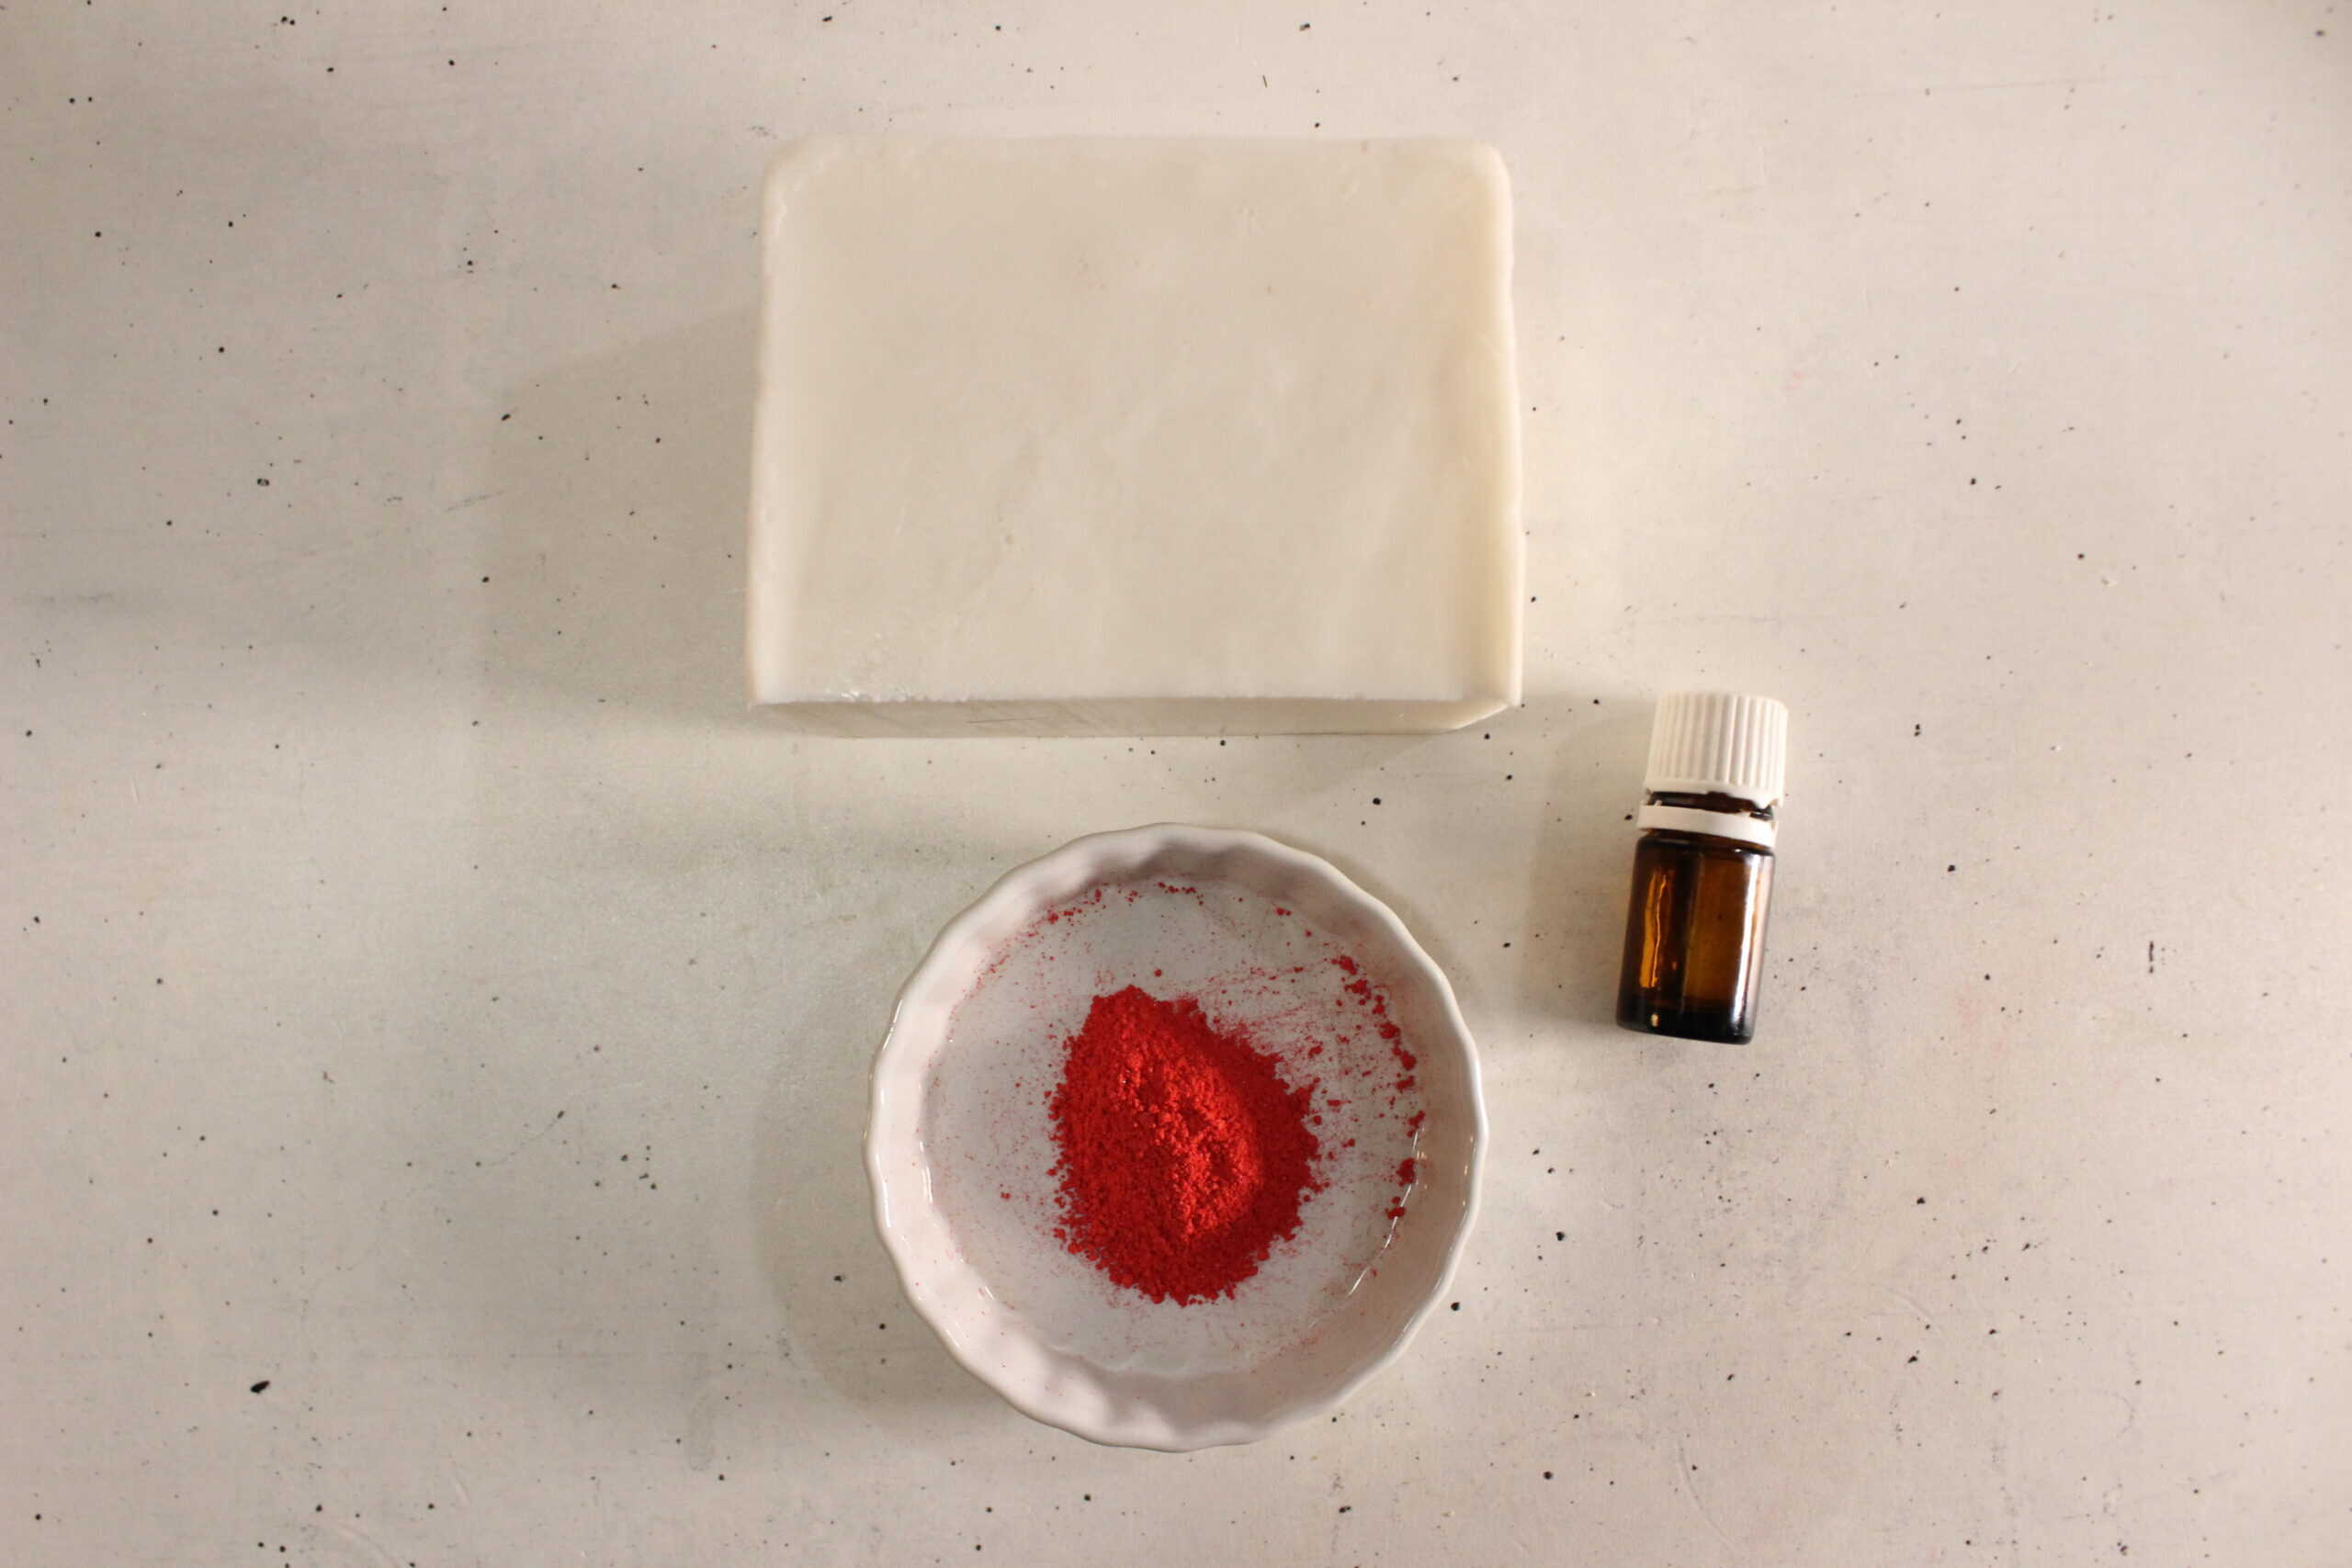
Ingredients You'll Need
- Melt and pour soap base: The easiest way to get a smooth, creamy bar without complicated steps.
- Red mica powder: Creates that classic candy cane shade.
- Essential oils: Peppermint and vanilla add the perfect festive aroma.
- Soap mold: Any silicone mold works.
Scroll to the recipe card for exact measurements.
How to Make Candy Cane Soap
Step 1: Cut the soap base into cubes and divide between two bowls. Melt each bowl in short intervals, stirring until smooth and fully melted.
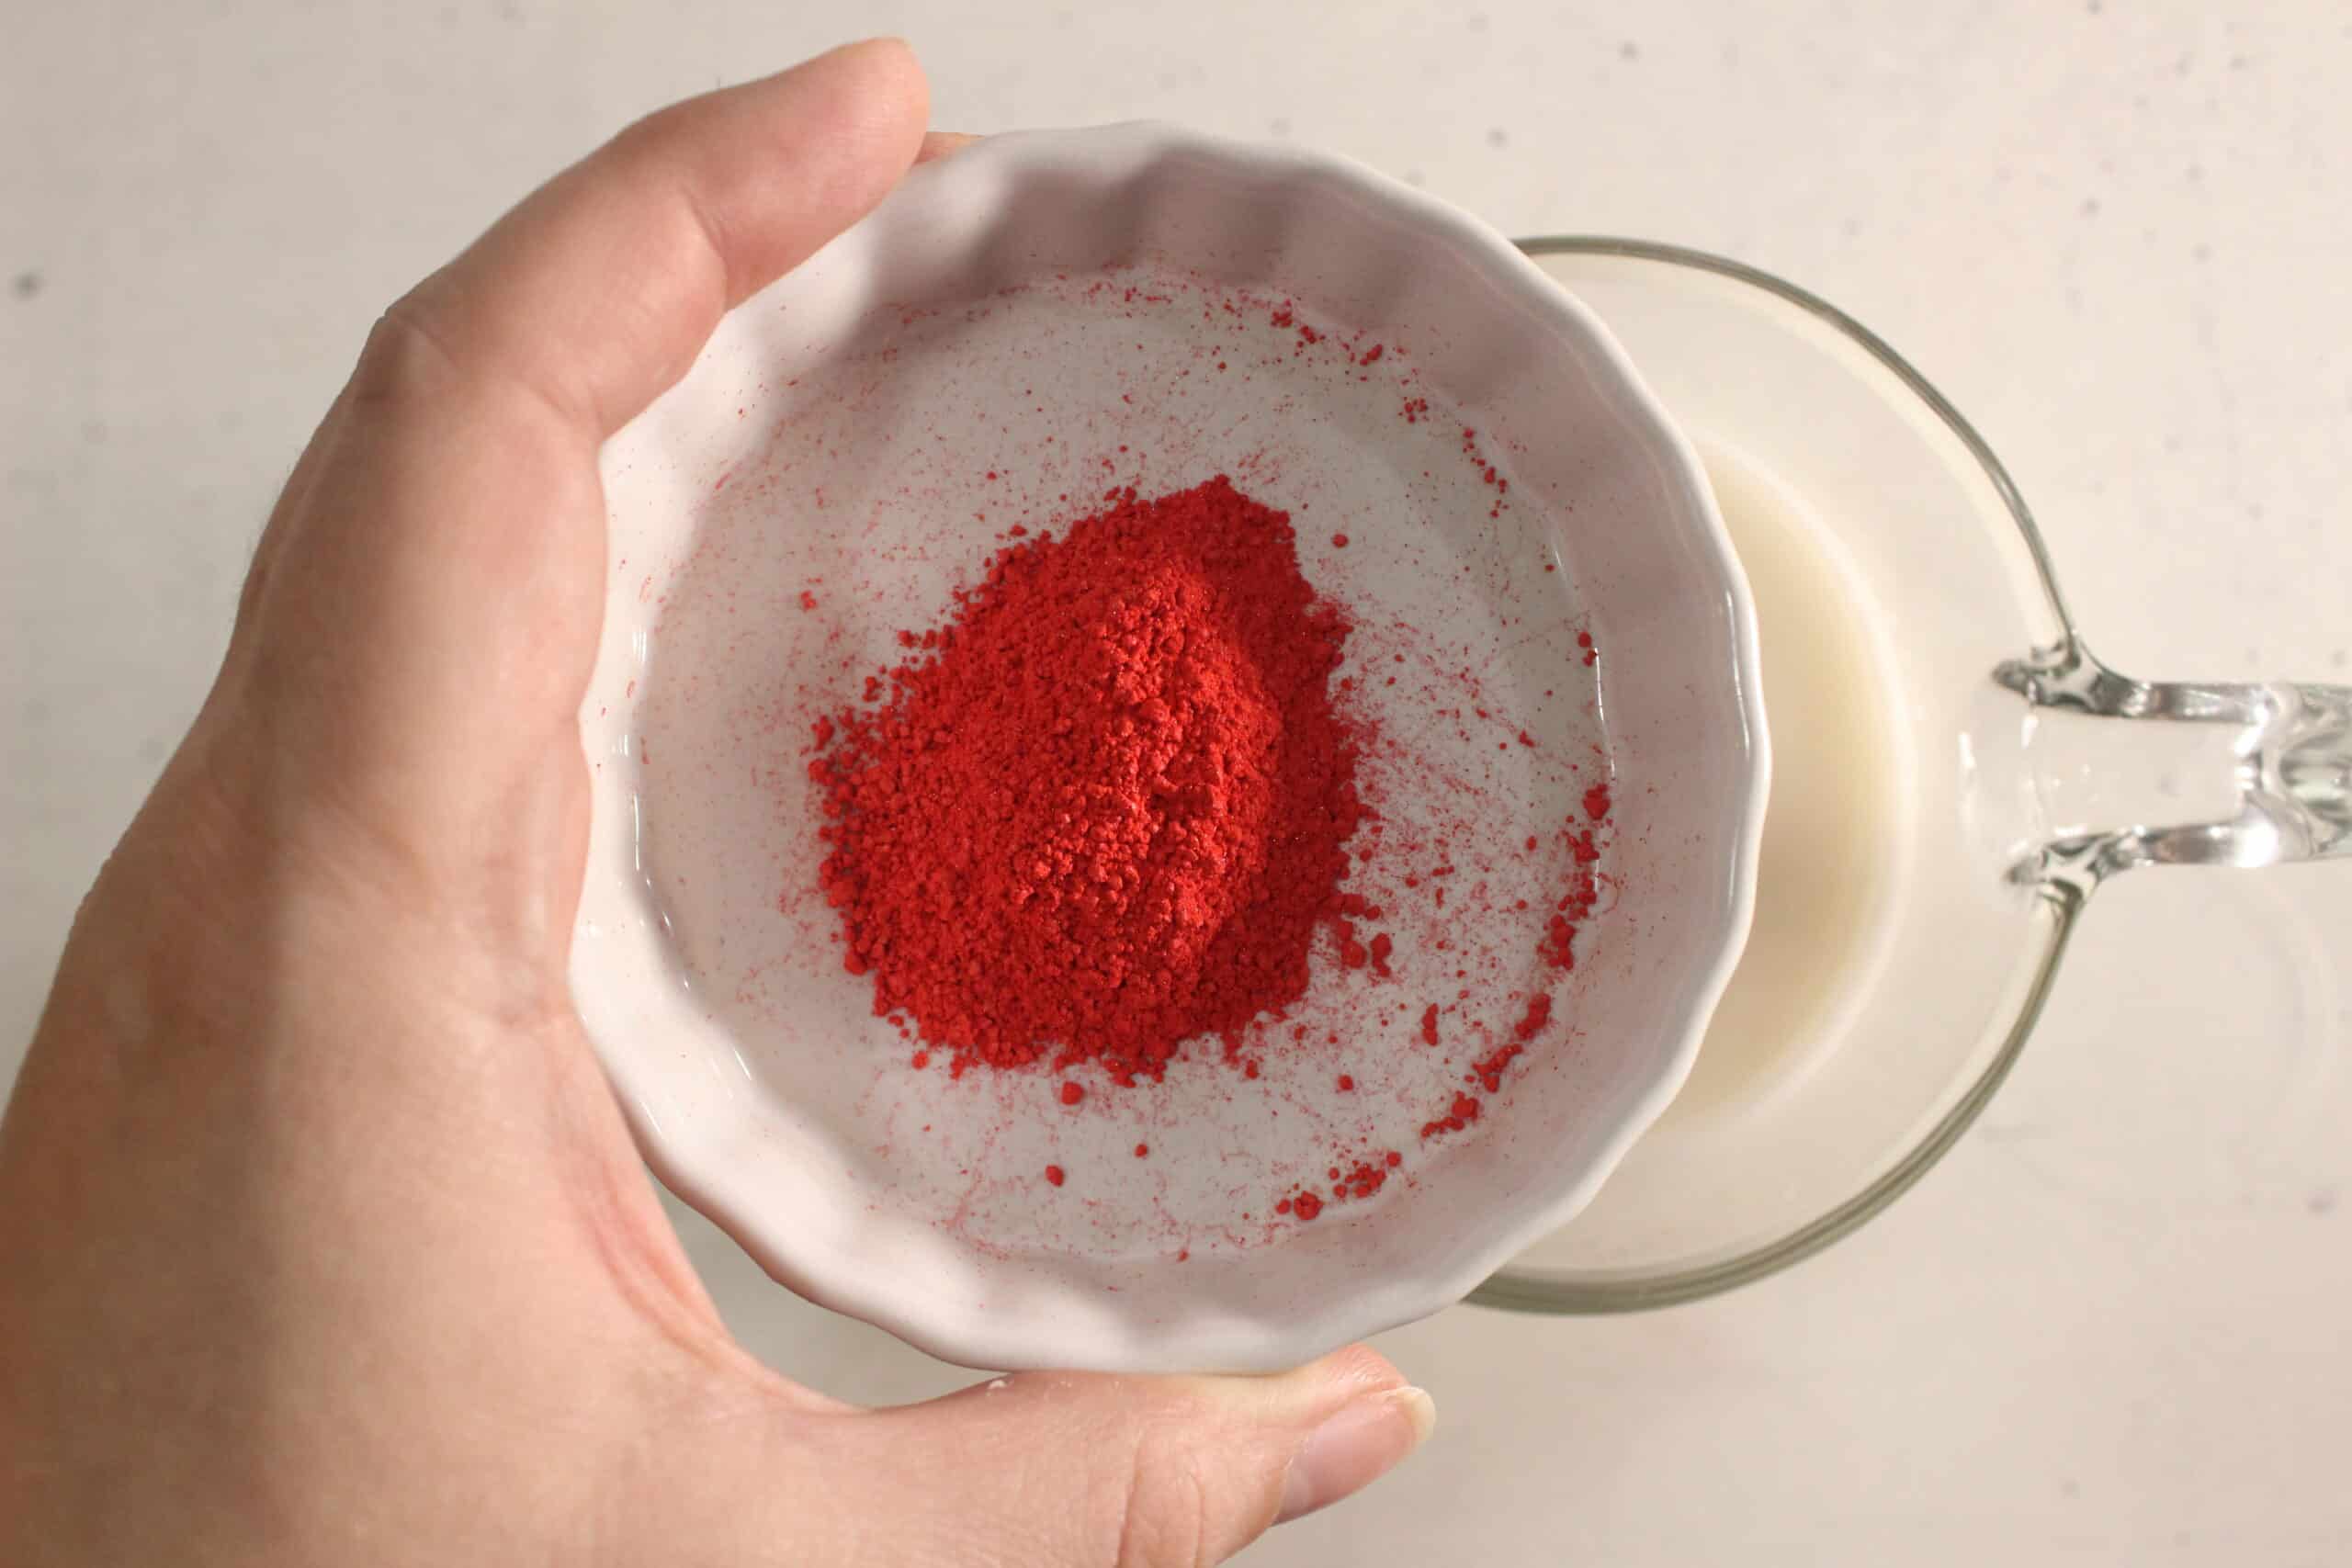
Step 2: Add red mica to one bowl and stir until the color is evenly blended. Keep the other bowl white so you can layer them into candy cane stripes.
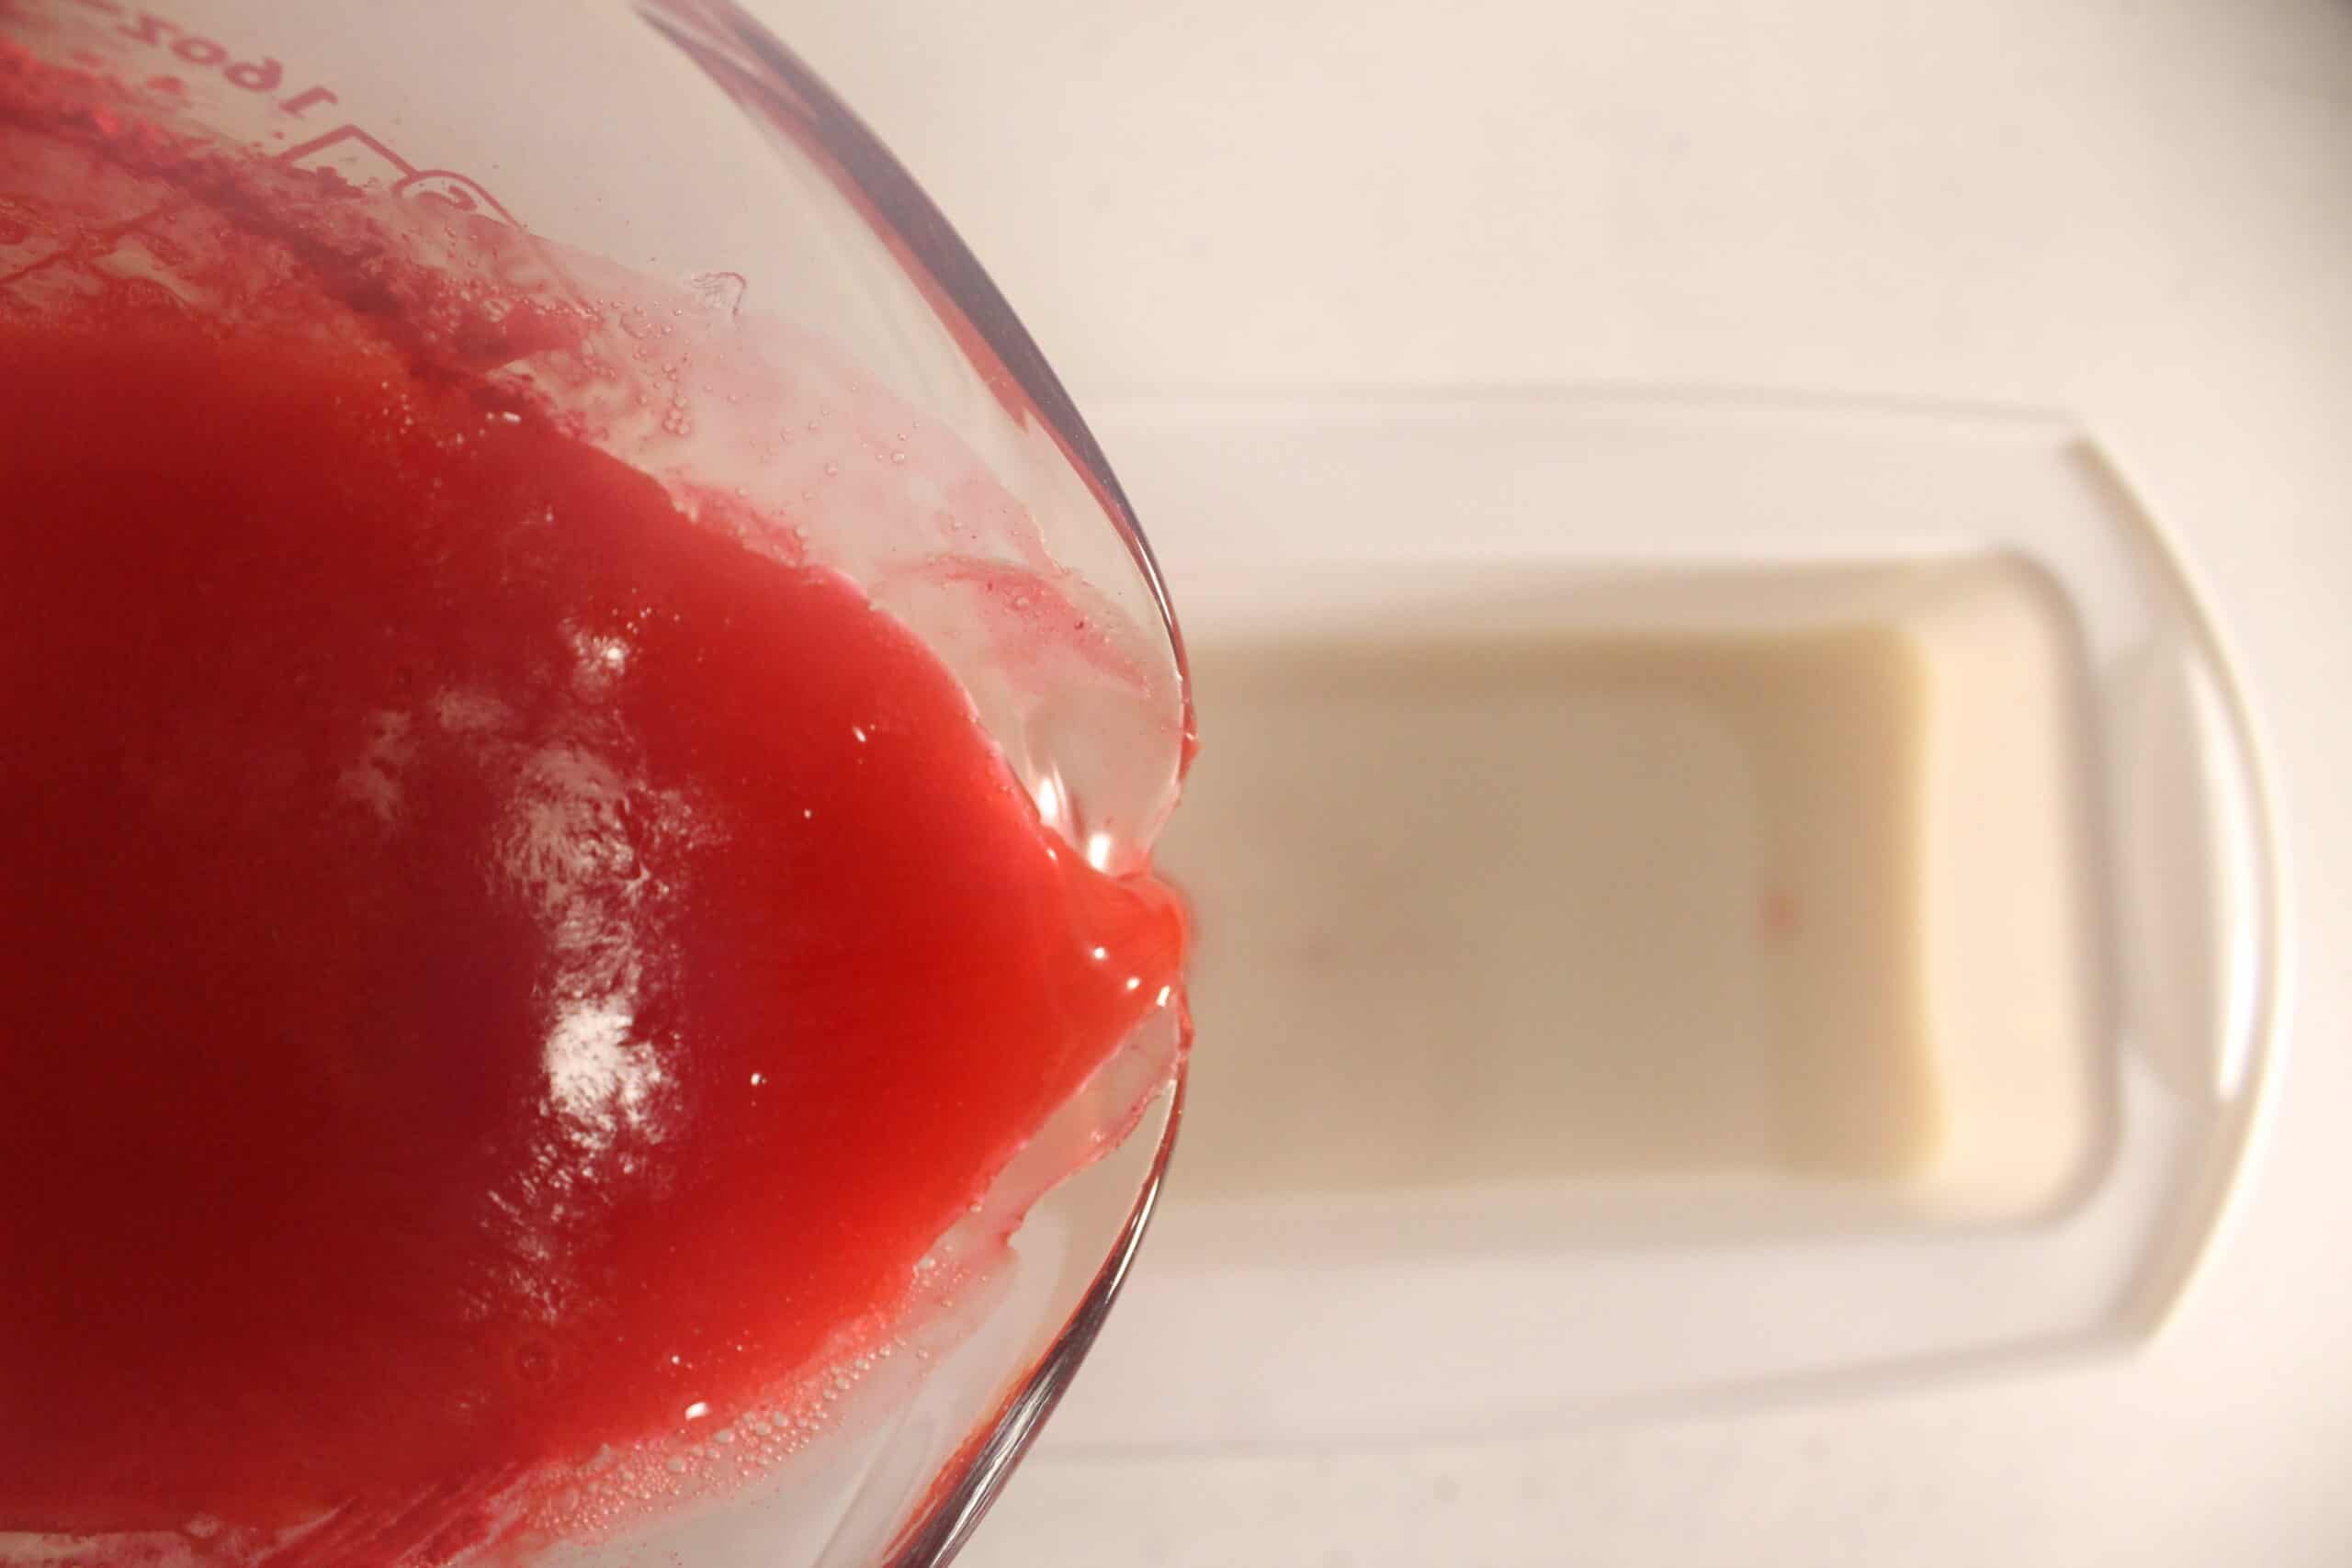
Step 3: Divide your essential oil blend and add it to both bowls. Pour a thin layer of soap into your mold. Let it set just enough to hold its shape before adding the next color. Repeat until your mold is full. Once fully cooled, remove and slice into bars.
Substitutions and Variations
- Use goat milk, shea butter, or aloe melt and pour base.
- Swap colors with pink mica for a pastel holiday vibe.
- Add glitter for an extra sparkly look.
- Create chunky swirls instead of stripes for a marbled design.
What to Enjoy with Candy Cane Soap
Pair this DIY with other small self-care gifts like homemade bath salts, sugar scrub cubes, or a cozy holiday candle. They make the cutest little gift sets for friends or teachers.
Storage
Store your soap bars in a cool, dry place for up to 12 months. Wrap them in plastic wrap or wax paper so the colors stay bright and the bars stay fresh.
FAQs
Why are my soap layers separating?
The previous layer was too firm. Pour the next layer when it is set but still slightly warm to the touch.
Can I use food coloring instead of mica?
It is not recommended because food coloring can bleed or fade. Mica keeps the color vibrant.
Why does my soap sweat or look wet?
Melt and pour soap can draw moisture from the air. Wrap each bar tightly after slicing.
Can I use different essential oils?
Yes. Peppermint and vanilla are classic, but you can use orange, lavender, or pine for other holiday scents.
Easy Candy Cane Soap
A cute and festive candy cane soap made with melt and pour base, red mica, and peppermint essential oils. Easy, aesthetic, and perfect for holiday gifting.
Ingredients
- 2 pounds melt and pour soap base
- Red mica powder, as desired
- 120 drops essential oils total (peppermint, vanilla, sweet orange)
Instructions
-
Cut the soap base into cubes and split evenly between two bowls. Melt in a double boiler or microwave in 30-second intervals until smooth.
-
Add red mica to one bowl and stir until you reach your desired red shade. Leave the other bowl white.
-
Divide the essential oil blend evenly between both bowls and stir well.
-
Pour a thin layer of one color into the mold. Let it set for 5 to 10 minutes.
-
Alternate layers to create stripes. Reheat bowls gently as needed to keep the soap melted.
-
Let the soap fully cool and harden before removing from the mold.
-
Slice and store in a cool, dry place.
Recipe Notes
• Use a silicone mold so the bars pop out easily.
• Keep a warm towel under the bowls so the soap stays melted.
• Add the next layer when the first layer is set but still slightly warm.
• Wrap each bar individually to keep them fresh.
• Makes the cutest stocking stuffers.


Leave a Reply