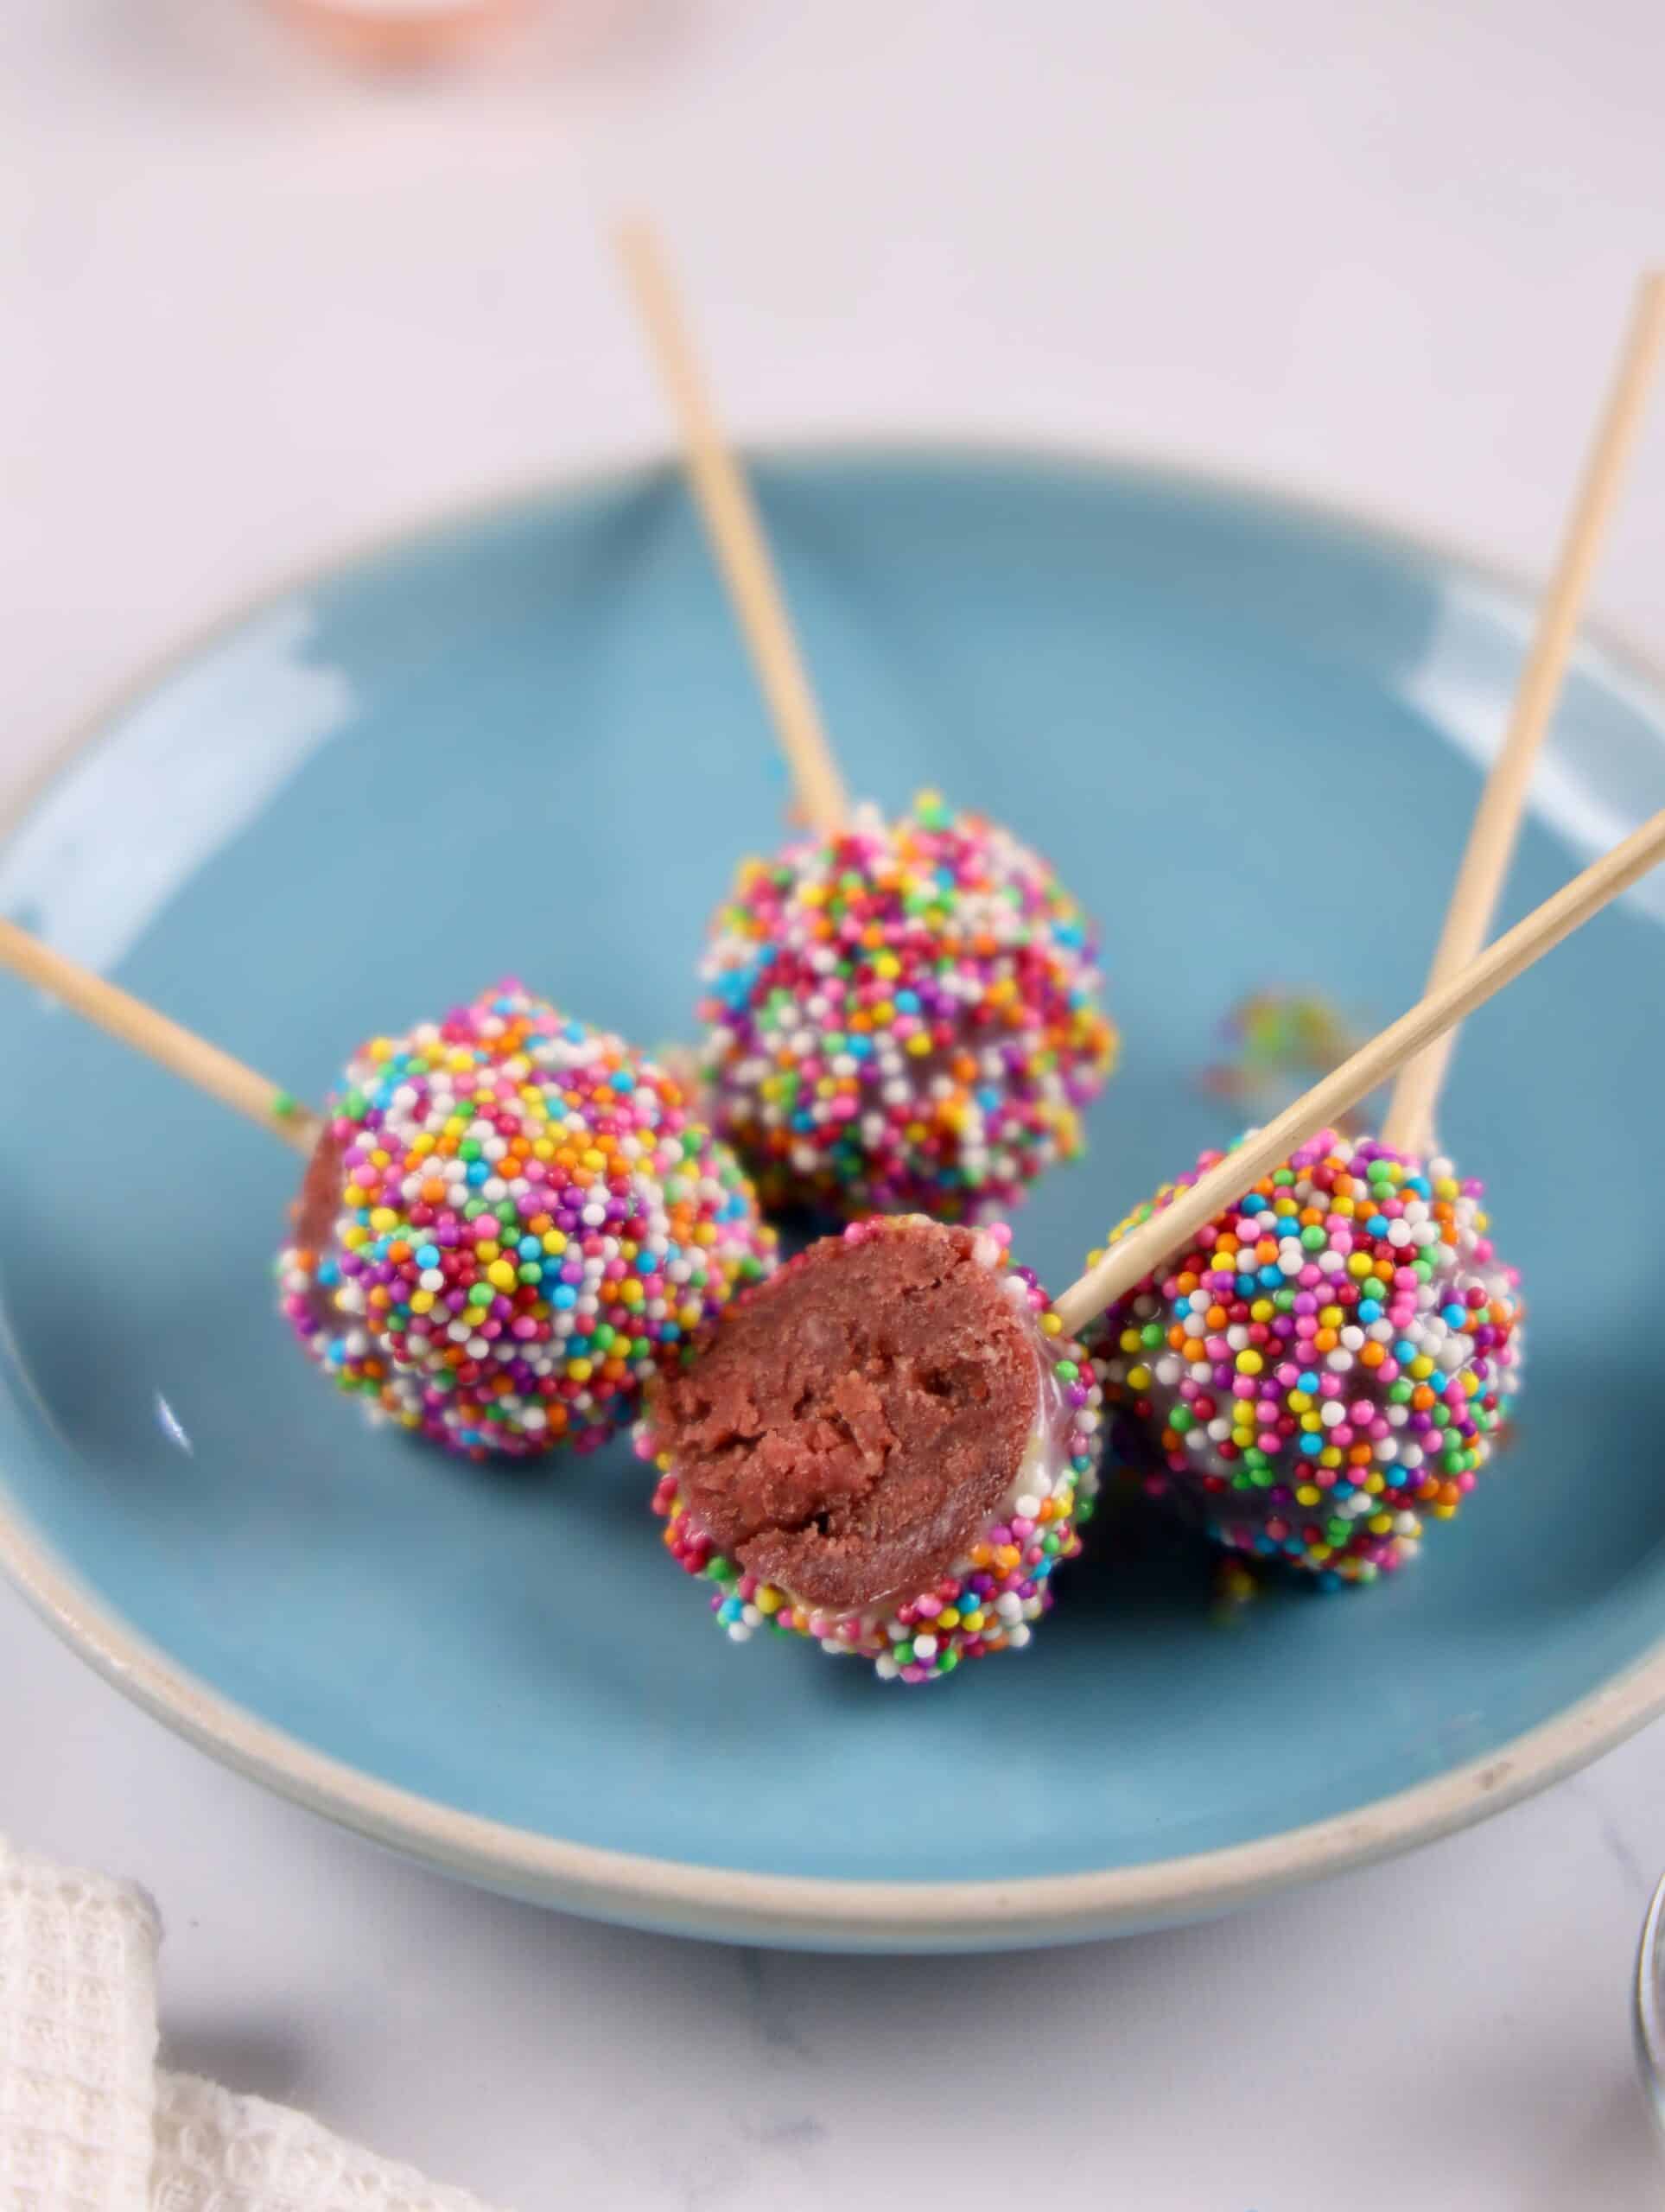
I love red velvet cake pops because they feel fancy but secretly take way less effort than people think, and this from-scratch version proves it. They're soft, rich, dipped in white chocolate, and perfect for parties, gifting, or a cozy baking moment at home.
I'm a dessert project girl when I want something fun but not stressful, and red velvet cake pops always hit. They look impressive, taste amazing, and somehow still feel doable even on a lazy baking day.
These red velvet cake pops are beginner-friendly, made without boxed cake mix, and easy to customize with different coatings and sprinkles.
Things to Know Before Making Red Velvet Cake Pops
- The cake mixture should be thick so the cake bakes soft and sturdy
- Let the cake cool completely before adding frosting
- Smaller cake pop balls stay on sticks better
- A quick chill before dipping helps everything hold together
Red velvet cake pops are one of my favorite desserts for celebrations because they feel special without being complicated. They're always the first thing people grab at parties.
If you're into easy treats, you'll love these too: Strawberry Tangulu, Dubai Chocolate Cups with Pistachio Cream, S'more Brownie Bites, Homemade Almond Roca.
How to Make Red Velvet Cake Pops
Step 1: Mix all the red velvet cake ingredients together until thick and smooth. Transfer the batter to a microwave-safe mug or oven-safe cup.
Step 2: Microwave for 70 seconds to 1 minute until the cake rises and sets. If using an oven, bake at 180°C for 15 to 20 minutes until a toothpick comes out clean.
Step 3: Whisk the butter until fluffy. Add powdered sugar and continue whisking until smooth, then mix in milk and vanilla until creamy.
Step 4: Once the cake cools completely, crumble it into a bowl. Add the prepared buttercream and mix until it forms a dough-like texture.
Step 5: Roll small portions into even balls. Keep them slightly small so they stay secure on the sticks.
Step 6: Dip the tip of each stick into melted white chocolate, then insert into the cake balls. Refrigerate for 10 minutes to set.
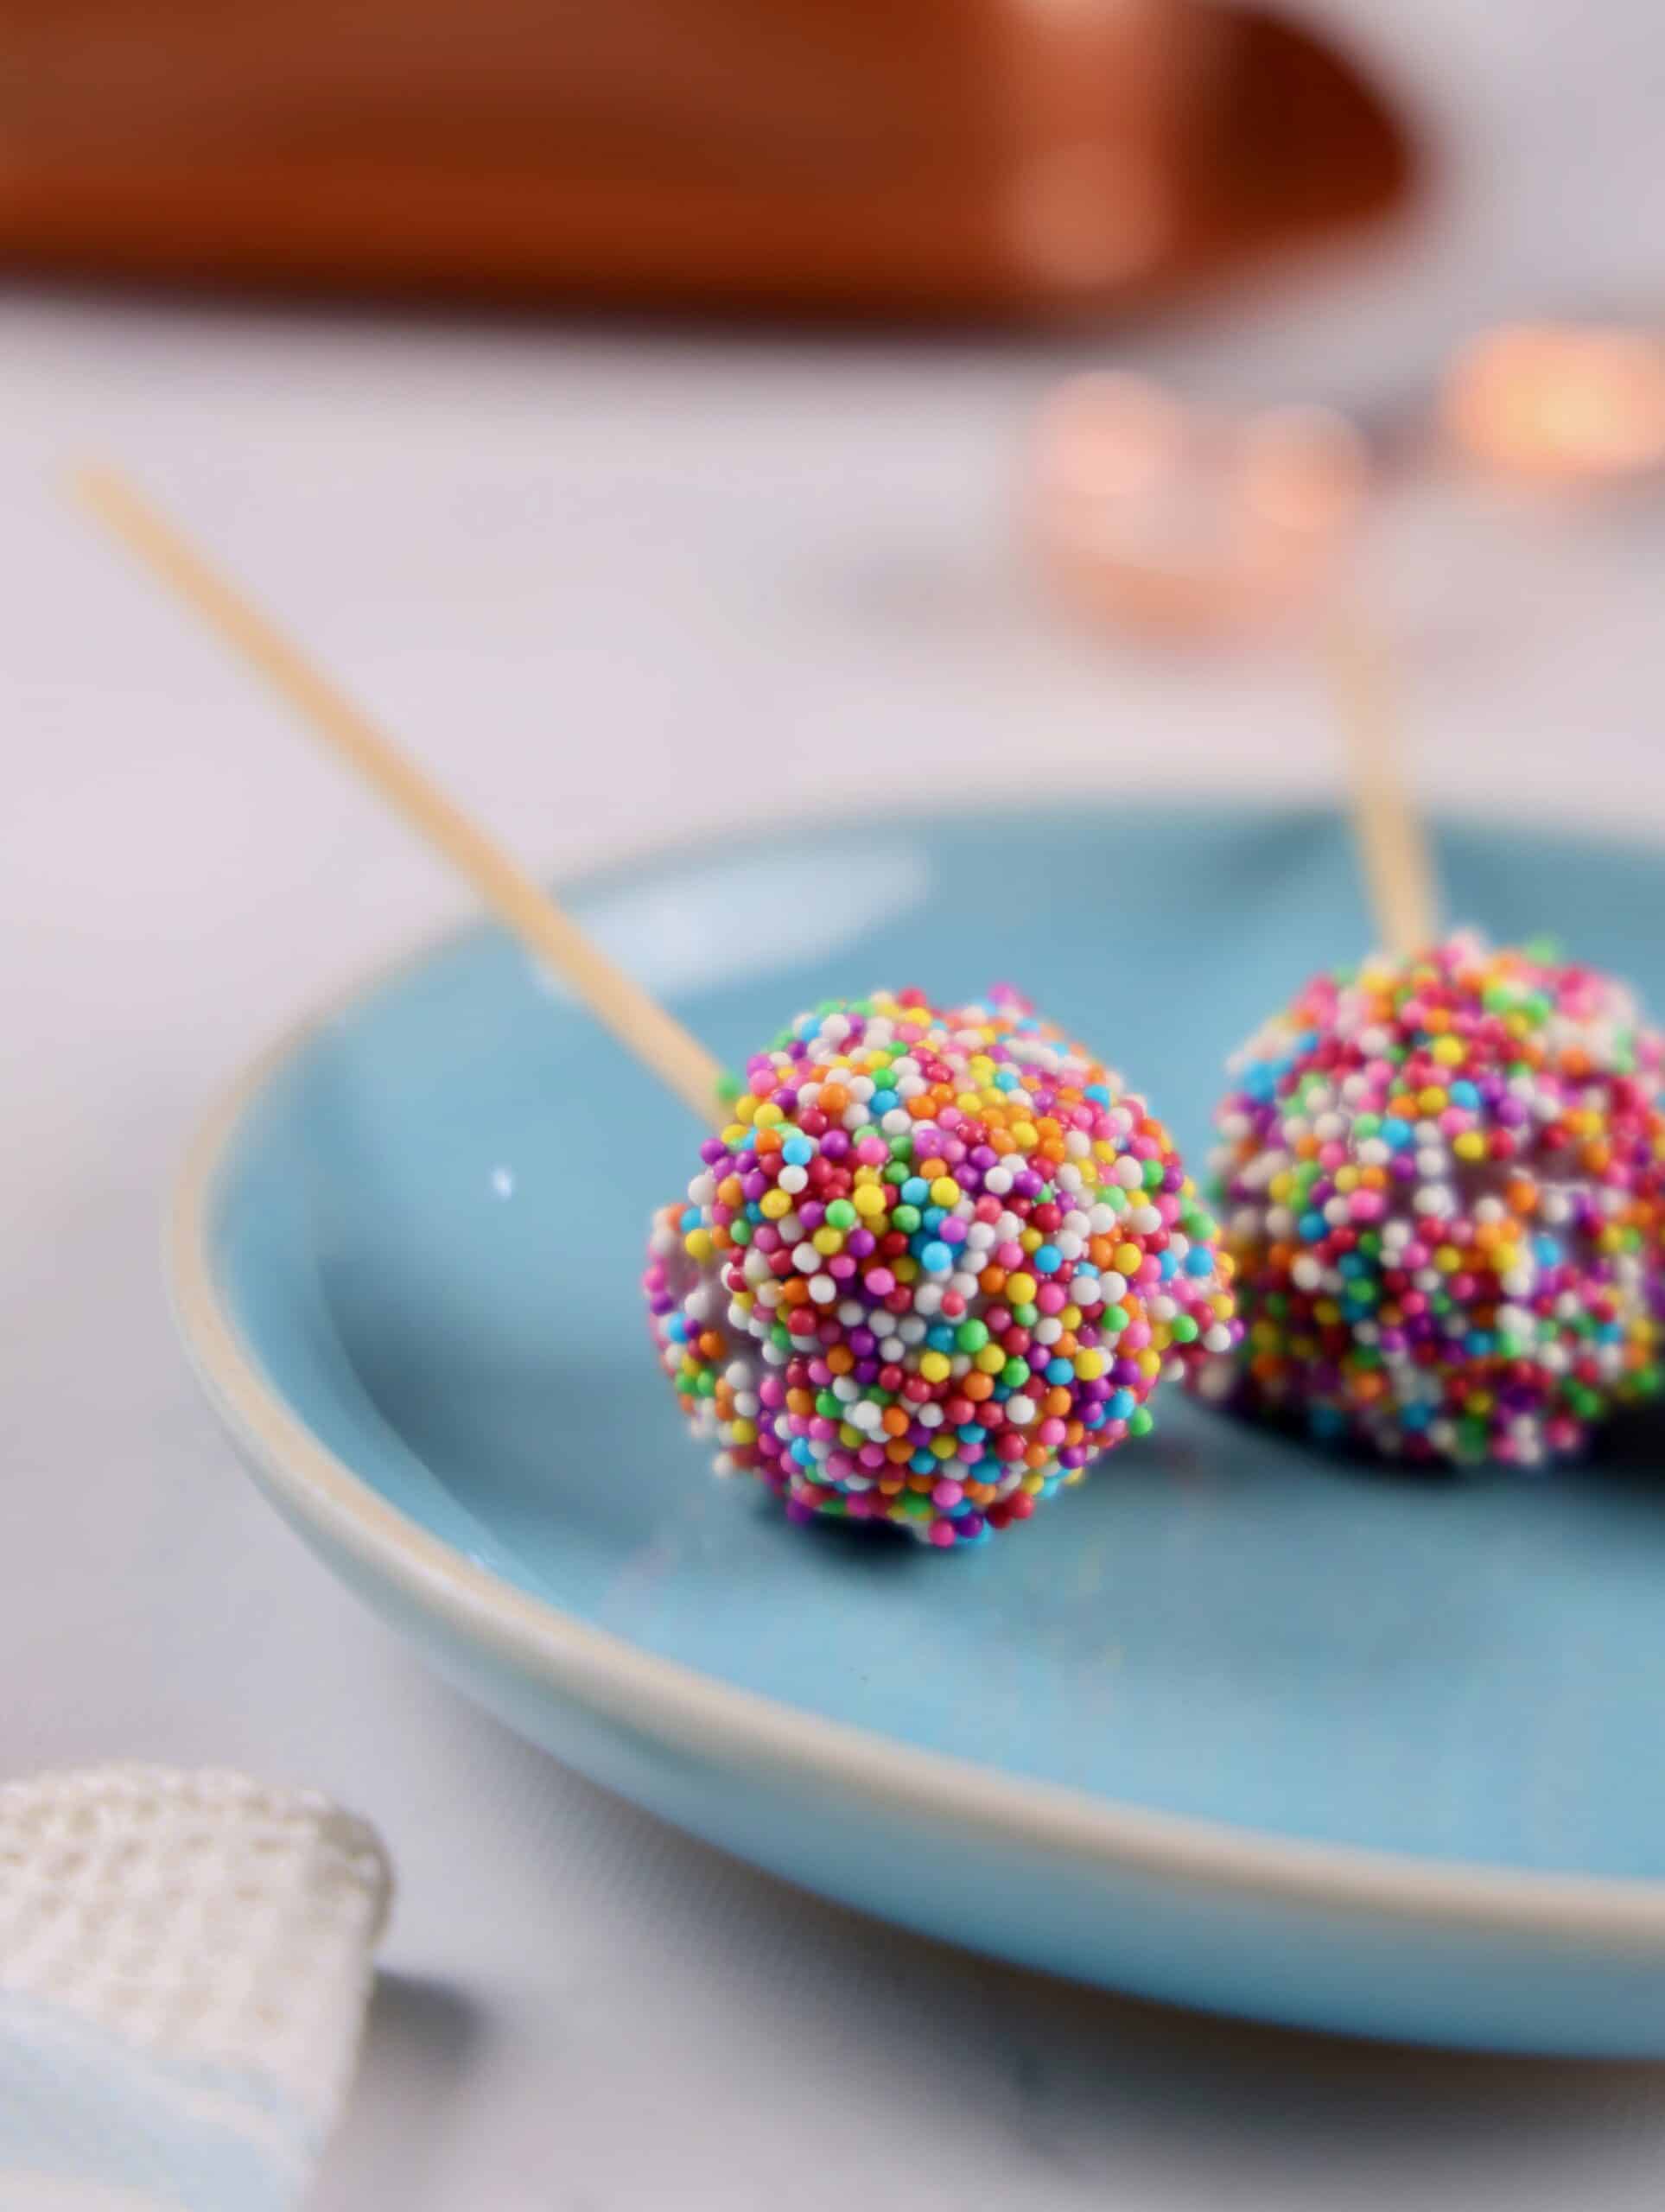
Step 7: Dip each cake pop into melted white chocolate, let excess drip off, and immediately add sprinkles. Stand upright using Styrofoam.
Step 8: Refrigerate for 15 minutes until fully set. Serve and enjoy.
Substitutions and Variations
- Swap white chocolate for milk or dark chocolate
- Use different sprinkle colors for holidays
- Add flavored extracts to the buttercream
- Drizzle extra chocolate on top for texture
What to Serve with Cake Pops
Serve these cake pops with hot cocoa, coffee, or a dessert charcuterie board. They're perfect alongside cookies, brownies, or other bite-size treats.
Storage and Freezing
Cake pops are best stored at room temperature in an airtight container. Refrigeration can cause condensation to form on the coating.
FAQs
Why did my cake pops fall off the stick?
Cake pops usually fall if they are too large or not chilled enough before dipping. Smaller balls hold better.
Can I make cake pops ahead of time?
Yes. You can prepare and decorate them a day ahead and store at room temperature.
Do cake pops need to be refrigerated?
No. Refrigeration can cause moisture to form on the coating. Room temperature is best.
More Dessert Recipes
- Easy Chocolate Covered Strawberries with Coconut Oil
- Copycat Oreos
- Chocolate Peanut Butter Hearts
- Barbie Strawberries


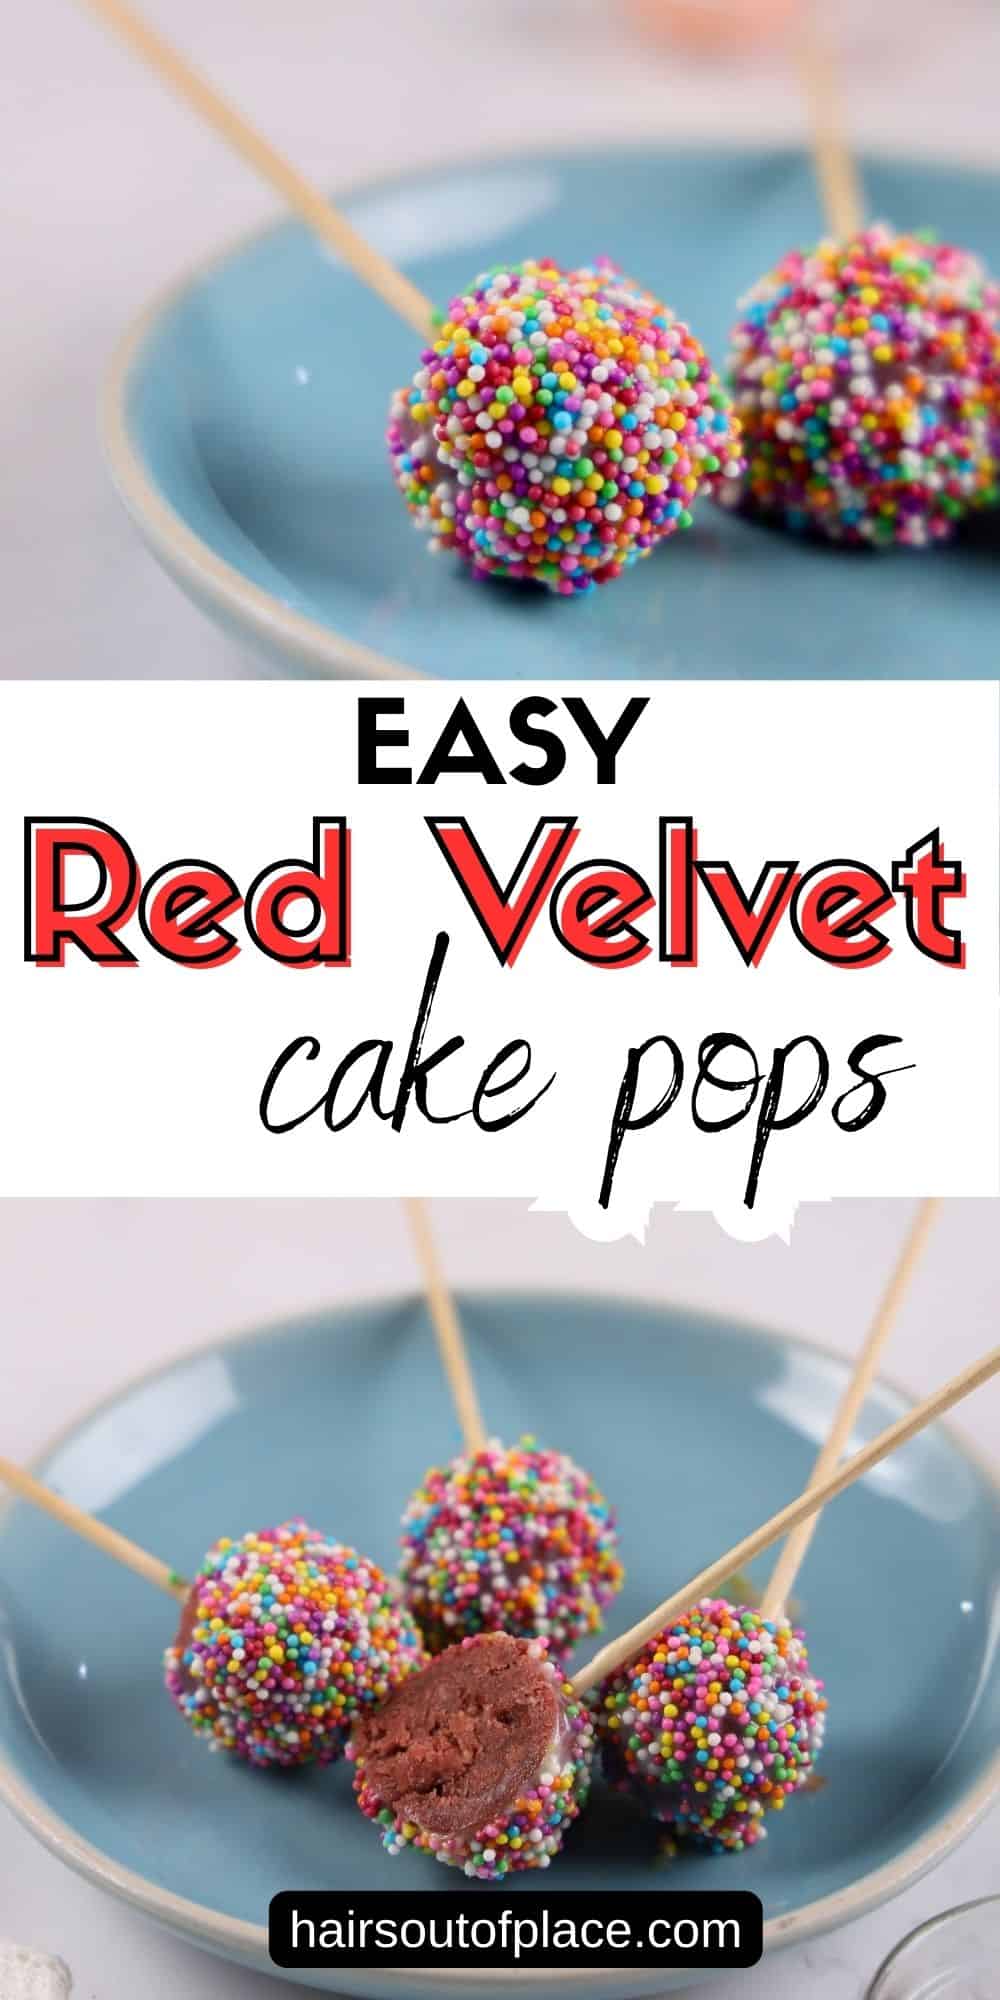
Easy Red Velvet Cake Pops
These red velvet cake pops from scratch are soft, rich, and coated in smooth white chocolate for the perfect bite-sized dessert. Made with a simple homemade red velvet cake and creamy buttercream, they're fun to decorate and easy enough for beginners. Perfect for parties, holidays, or anytime you want a cute, homemade treat without using a box mix.
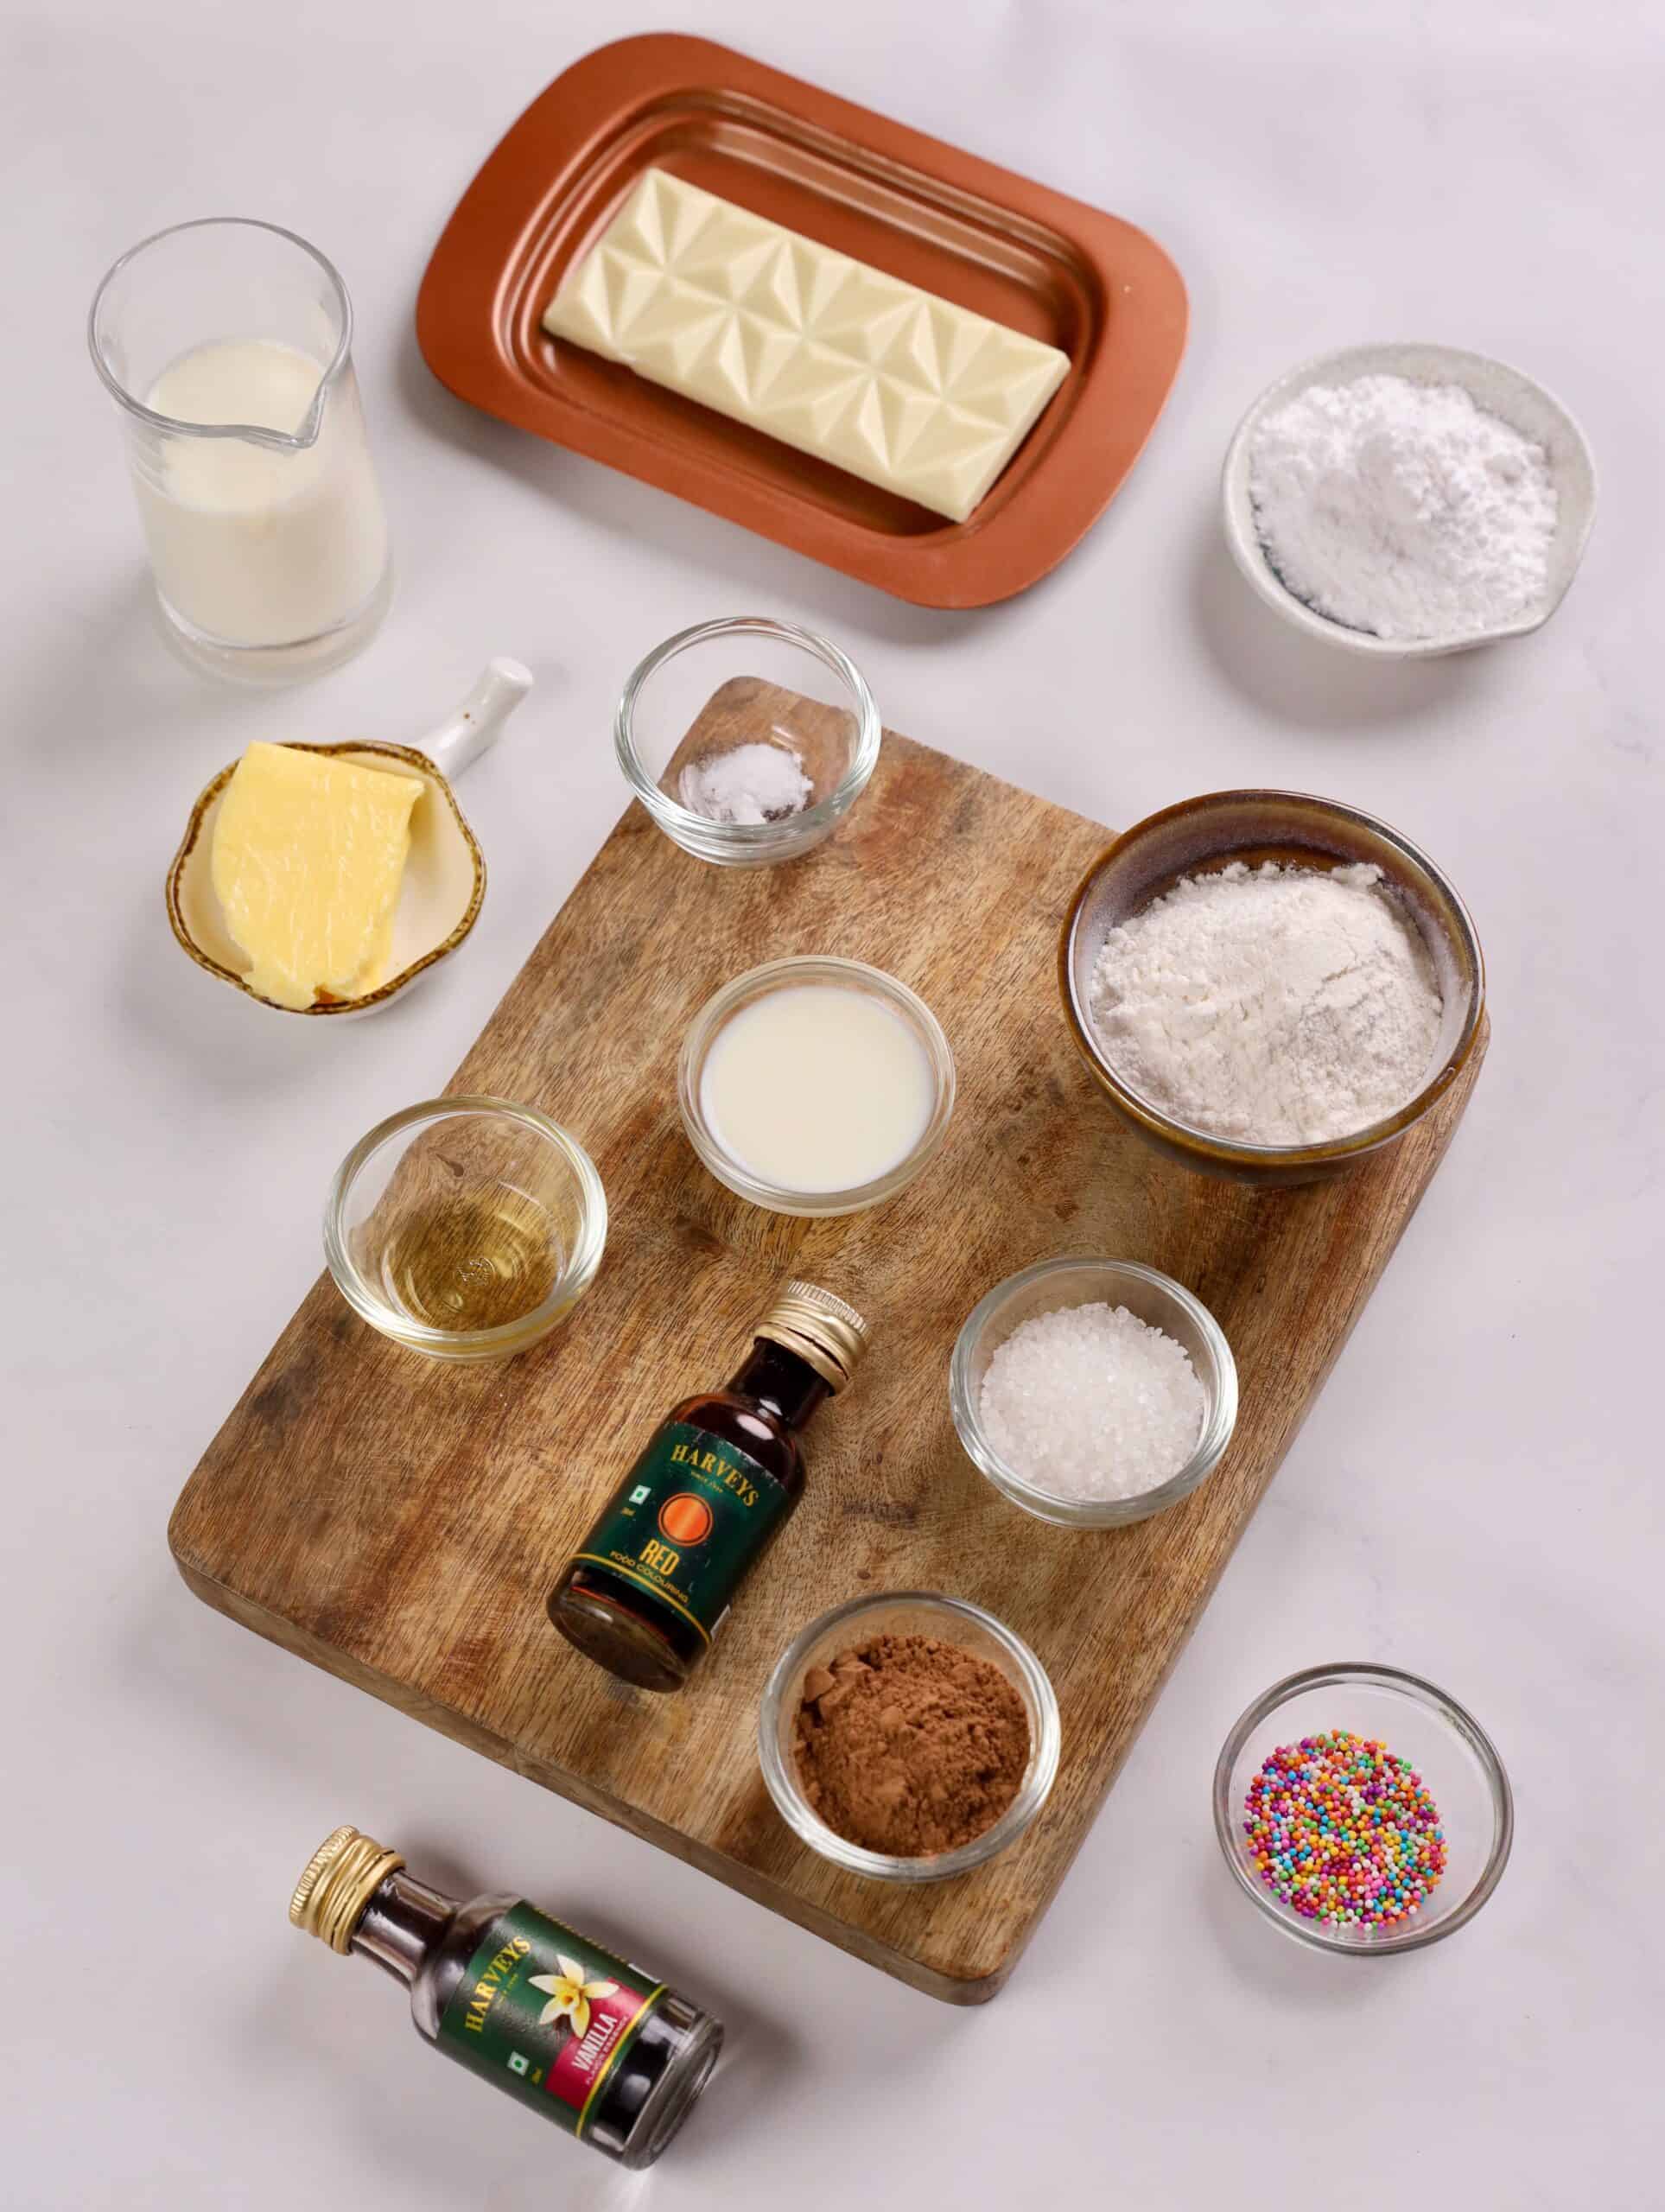
Ingredients
For the Red Velvet Cake
- ¼ cup All-purpose flour
- 2 tablespoons Sugar
- 1 teaspoon Cocoa powder
- ¼ teaspoon Baking powder
- 5 tablespoons Milk
- ½ teaspoon Apple cider vinegar
- 1 ½ tablespoons Butter (melted)
- 1 teaspoon Red food coloring
For the Butter Cream
- ¼ cup Powdered Sugar
- 50 grams Butter (room temperature) about ¼ cup
- 1 tablespoon Milk
- ½ teaspoon Vanilla essence
For the Cake Pops
- Prepared red velvet cake recipe above
- 2 tablespoons Prepared buttercream recipe above
- Wooden sticks
- White chocolate (melted): As required
- Sprinkles: To garnish
Instructions
-
In a bowl, combine all ingredients for the red velvet cake batter and mix until thick and smooth. Transfer the batter to a microwave-safe mug or oven-safe dish.
-
Microwave the cake for 70 seconds to 1 minute until fully cooked and risen. If using an oven, bake at 180°C for 15-20 minutes until a toothpick comes out clean. Let the cake cool completely.
-
While the cake cools, prepare the buttercream by whisking the butter until fluffy. Add powdered sugar and mix until smooth, then blend in the milk and vanilla until creamy.
-
Crumble the cooled cake into a mixing bowl. Add 2 tablespoons of buttercream and mix until the texture is moist and holds together easily.
-
Scoop small portions of the mixture and roll into smooth balls. Place them on a tray.
-
Dip the tip of each stick into melted white chocolate, then insert it into a cake ball. Chill for 10 minutes to secure the stick.
-
Dip each cake pop into melted white chocolate, allowing excess to drip off. Immediately decorate with sprinkles.
-
Stand the cake pops upright in foam or a holder and refrigerate for about 15 minutes until the coating is set. Serve and enjoy.
Recipe Notes
- Let cake cool completely before mixing with frosting
- Keep cake balls small for best results
- Chill briefly before dipping
- Customize with seasonal sprinkles
- Great for parties and gifting


Leave a Reply