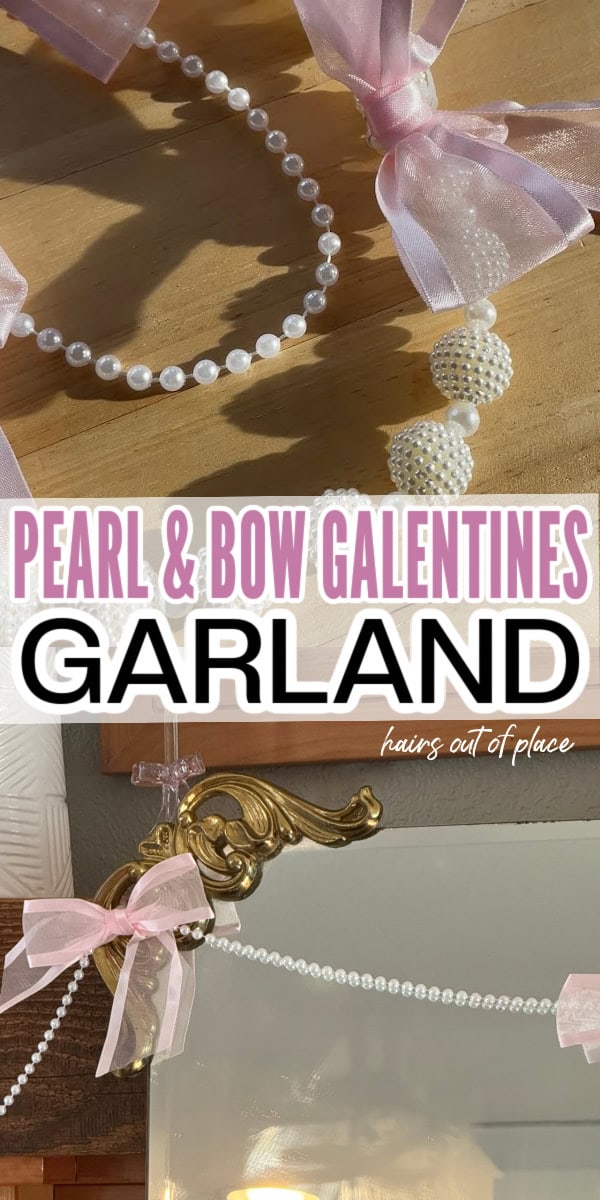
If you're a girly girl like me and have an obsession decorating with bows, this pearl and bow garland project is what you need for Galantines, to bring the feminine vibes! Holiday decor is my favorite excuse to be extra in the cutest way possible. If something is easy, aesthetic, and looks like it came from a boutique, I am fully in.
I love making a pearl and bow garland because it instantly adds a soft, romantic Valentine's vibe without feeling overdone or expensive.
If you're decorating for Valentine's Day and want something feminine, and Pinterest-worthy, this DIY pearl and bow garland is perfect. It's beginner-friendly, budget-friendly, and easy to customize for shelves, mantels, headboards, or photo backdrops.
Things to Know Before Making a Pearl and Bow Garland
• Use lightweight faux pearls so the garland drapes nicely without sagging (bought a pearl strand from Amazon)
• Satin or sheer ribbon gives the bows a softer, more elevated look
• Measure your space first so the garland fits exactly where you want it
• Use clear thread or fishing line for a floating if the bow doesn't already come with a way to attach to the garland
This is one of those DIYs that feels calming to make and looks way more expensive than it is. If you're into easy, aesthetic decor, you'll love these too: DIY Valentine's Day garlands, Aesthetic Valentine's Day ideas, and How to Throw a Galentine's Party
Supplies You'll Need
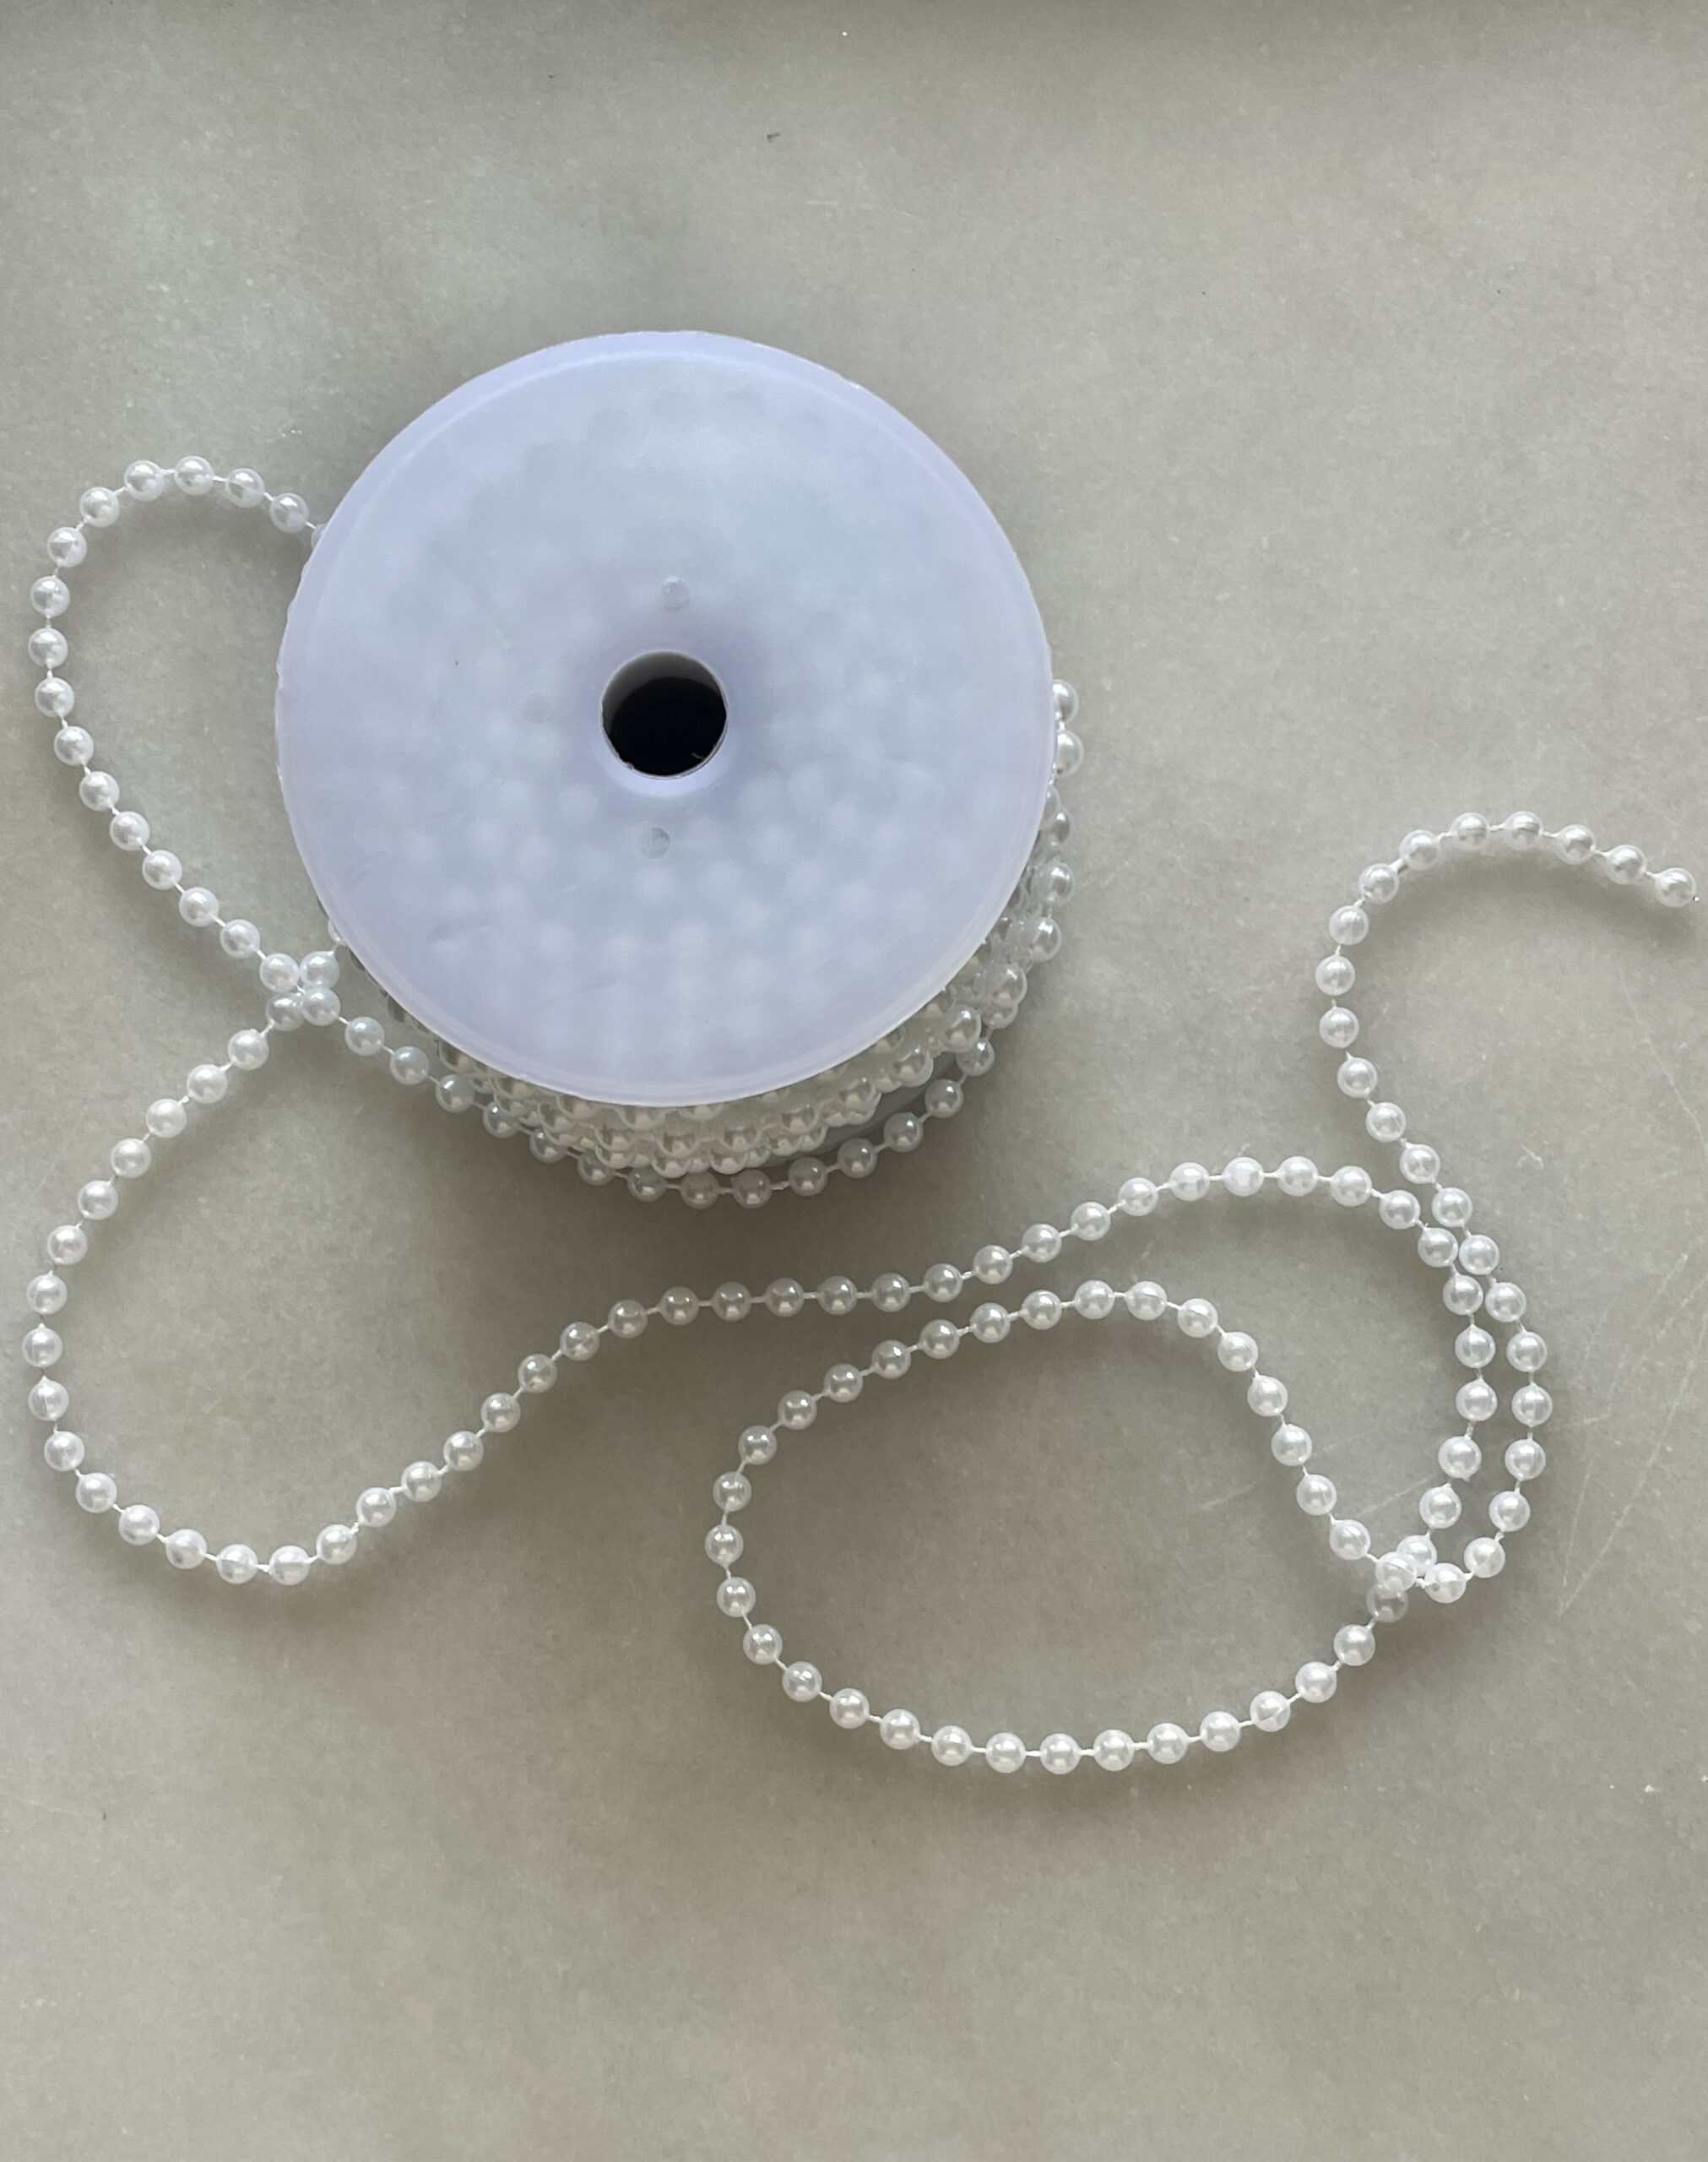
• Faux pearl beads: These create the soft, elegant base of the garland
• Pink ribbon: Satin, velvet, or sheer all work depending on your vibe
• Tape or hooks: For hanging the finished garland
Scroll to the supply list section for exact measurements and quantities.
How to Make a Pearl and Bow Garland
Step 1: String the pearls
Take a strand of pearls around the house or order some online and lay it out so you can see the length you're working with.
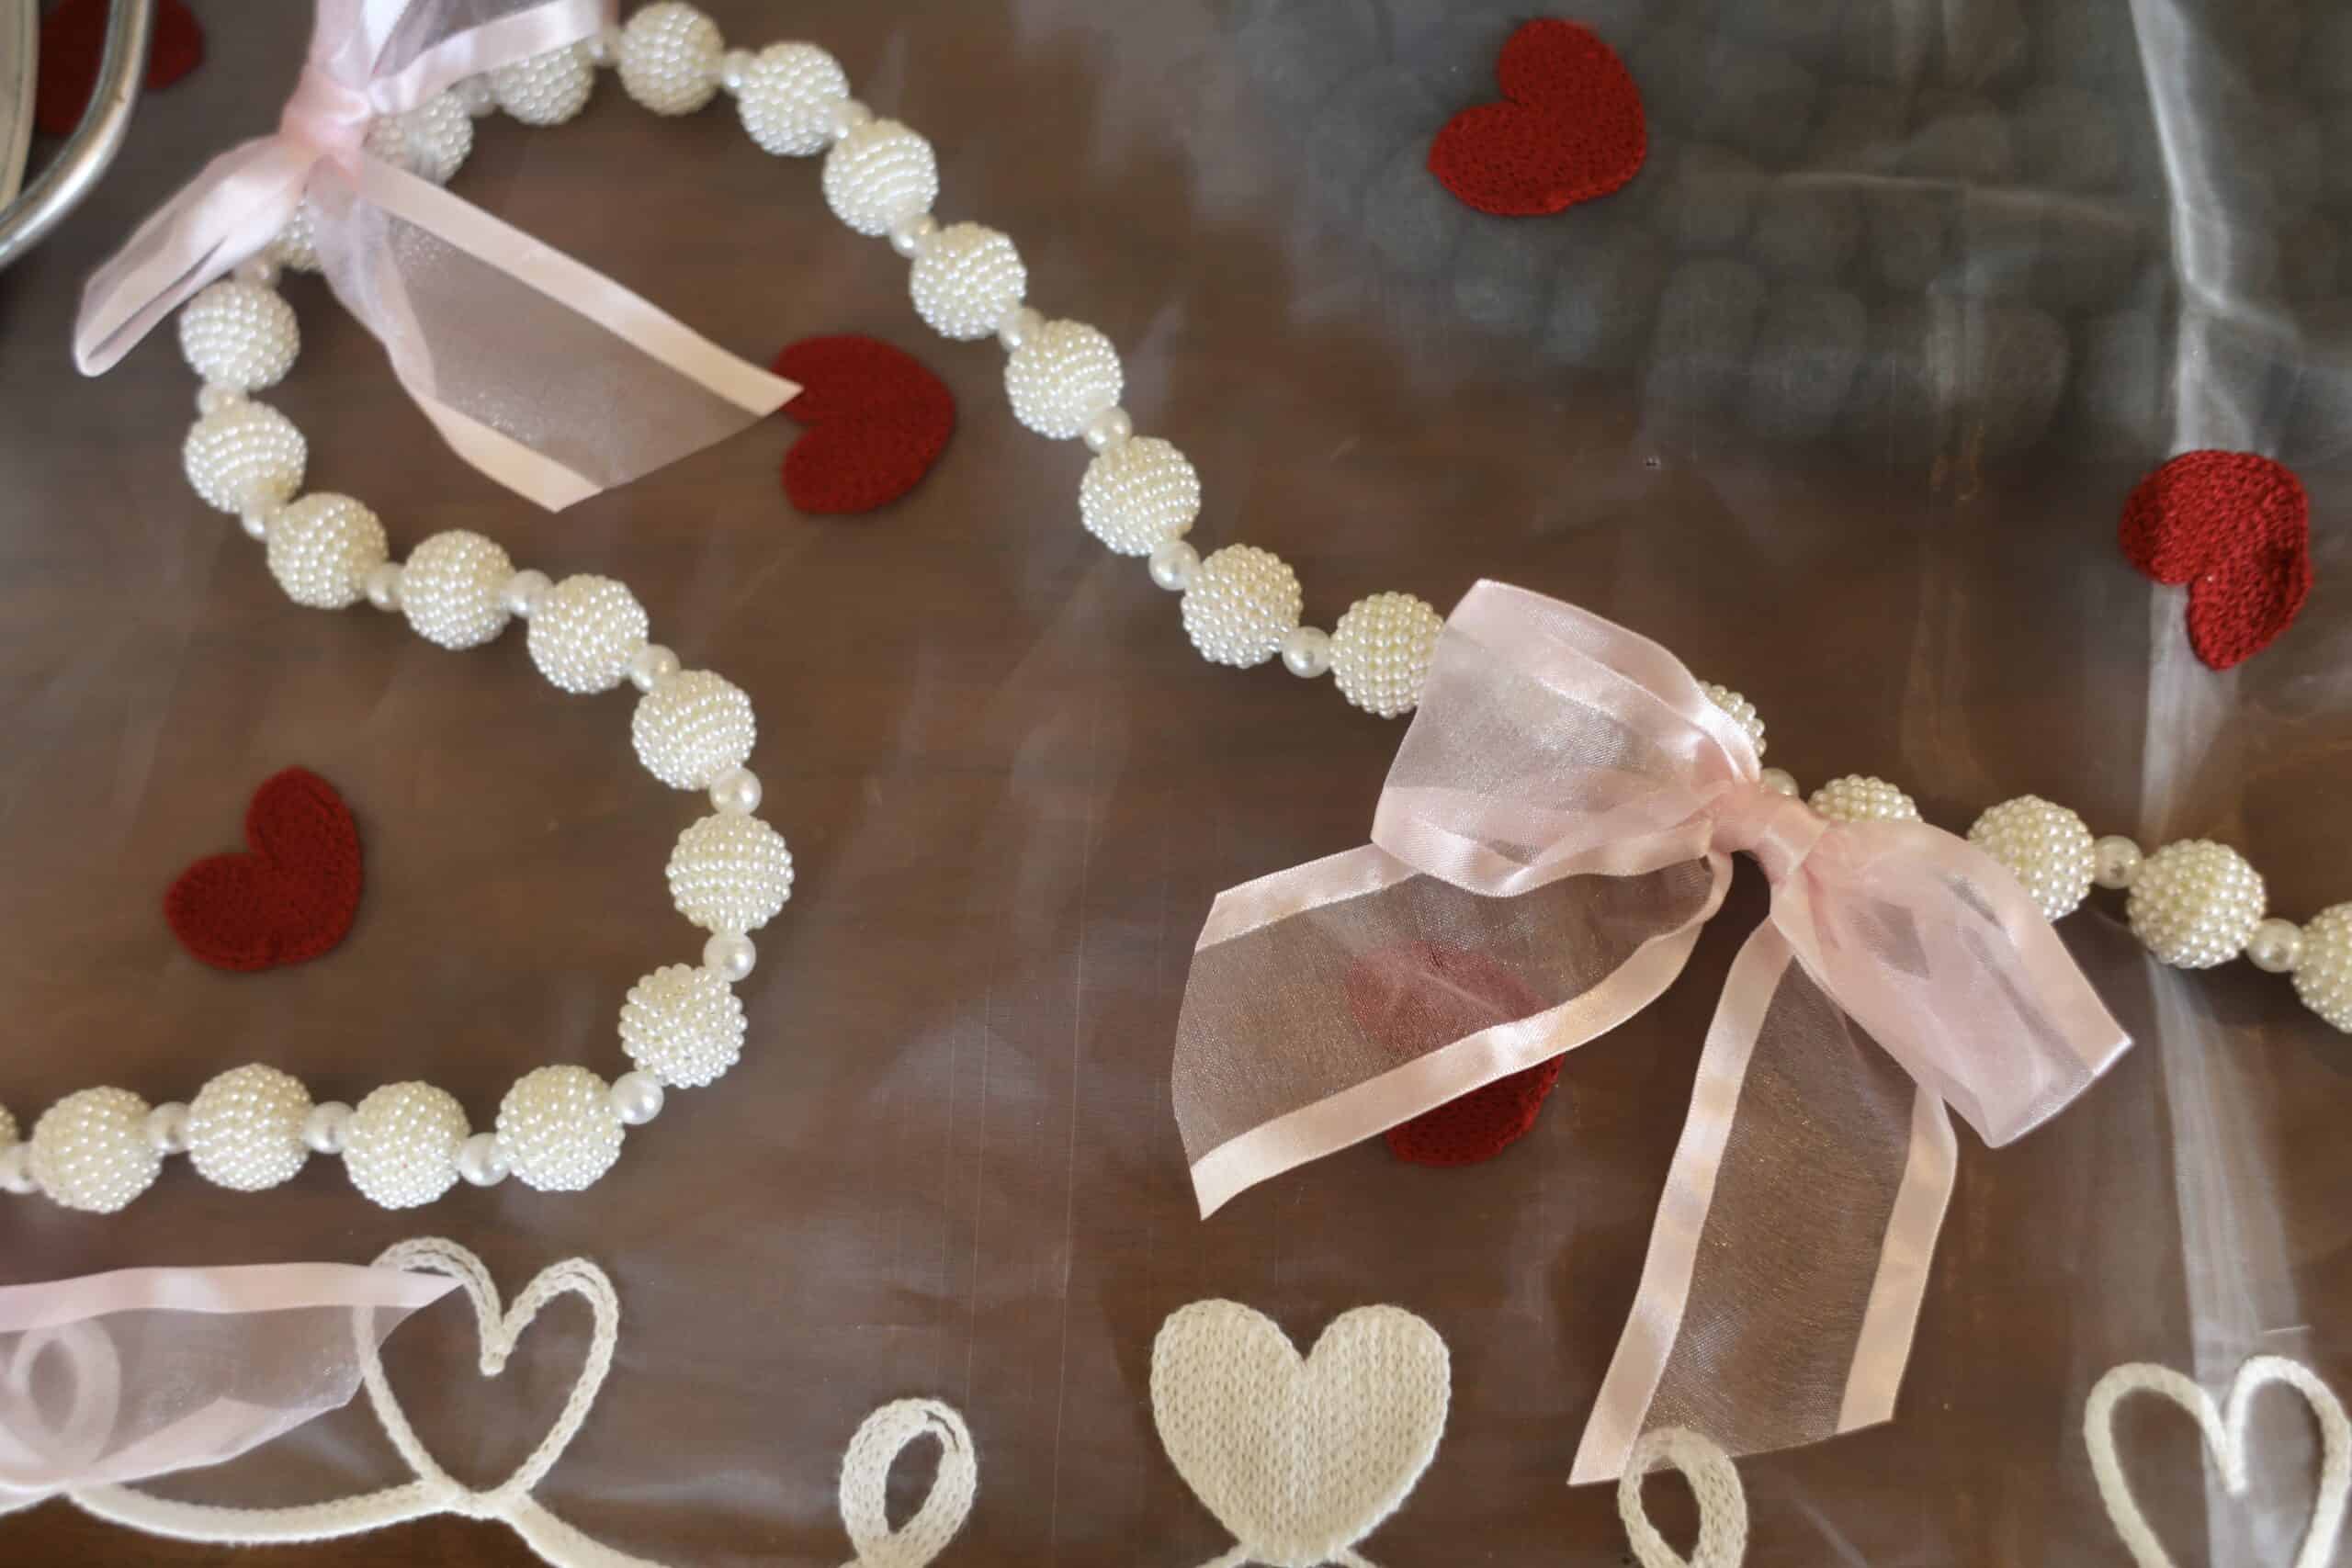
Step 2: Make the bows
Cut ribbon into equal lengths and tie simple bows. If the bows already came tied, align them along the pearls to where you want them.
Step 3: Attach and style
Tie, glue or in another way attach the bows evenly along the pearl strand. Hang the garland and adjust spacing until it looks balanced and cute.
Substitutions and Variations
• Swap pink ribbon for red, ivory, or blush for different Valentine styles
• Use wooden beads instead of pearls for a more rustic look
• Add heart charms for extra Valentine detail
• Make mini garlands for shelves or mirrors
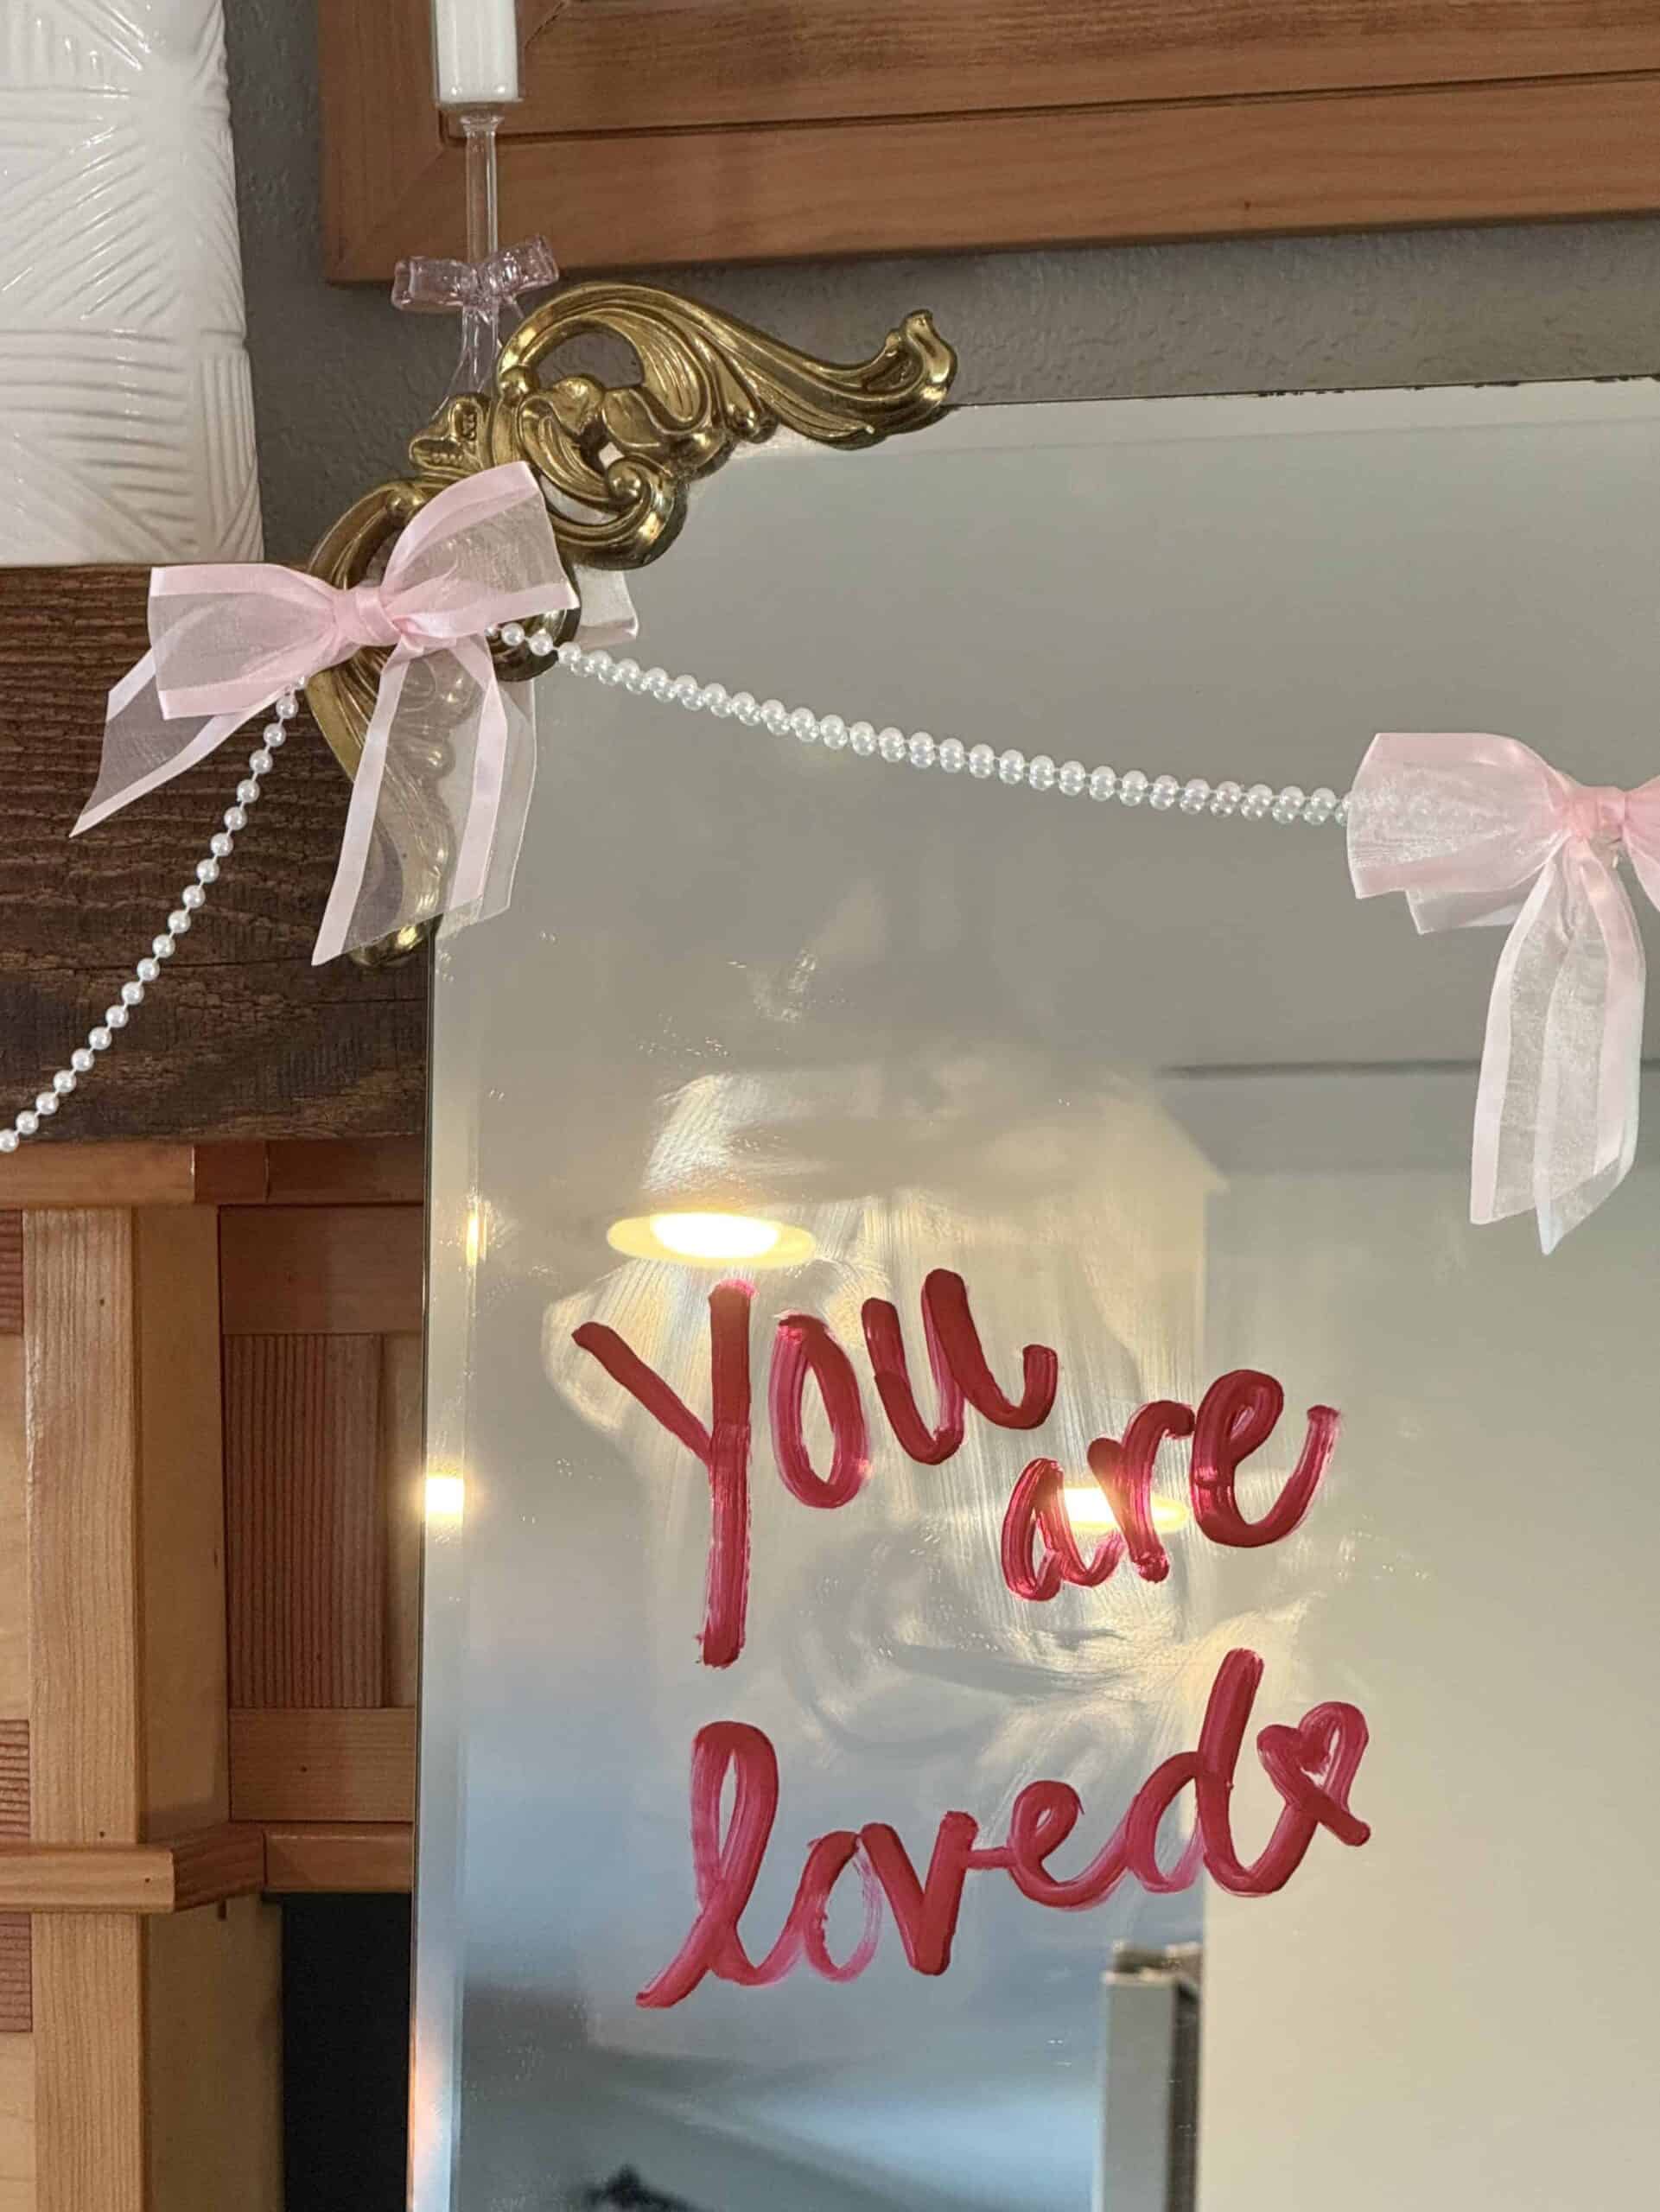
Where to Use a Pearl and Bow Garland
This garland looks perfect on mantels, shelves, headboards, mirrors, or as a Valentine's photo backdrop. It also works beautifully for Galentine's parties or cozy bedroom decor.
Storage and Reuse
Store the garland loosely coiled in a box or bag to prevent tangling. It can be reused year after year and easily updated with new ribbon colors.
FAQs
How do you make a pearl and bow garland?
String faux pearls onto clear thread, tie bows from ribbon, and attach them evenly along the strand. Hang and adjust for spacing.
What ribbon works best for a bow garland?
Satin and velvet ribbon work best because they hold their shape and look soft and aesthetic.
Is this DIY garland budget-friendly?
Yes. Most supplies can be found at craft or dollar stores, making it an affordable Valentine's decor project.
Can I make this garland ahead of time?
Absolutely. It stores well and can be reused for future Valentine's Days or romantic decor themes.
More Easy Valentine's Decor Ideas
• 30 Aesthetic Valentine's Day ideas for the girls
• 10 Easy Valentine's DIY Garlands
• 25 Short Valentines Nails


Leave a Reply