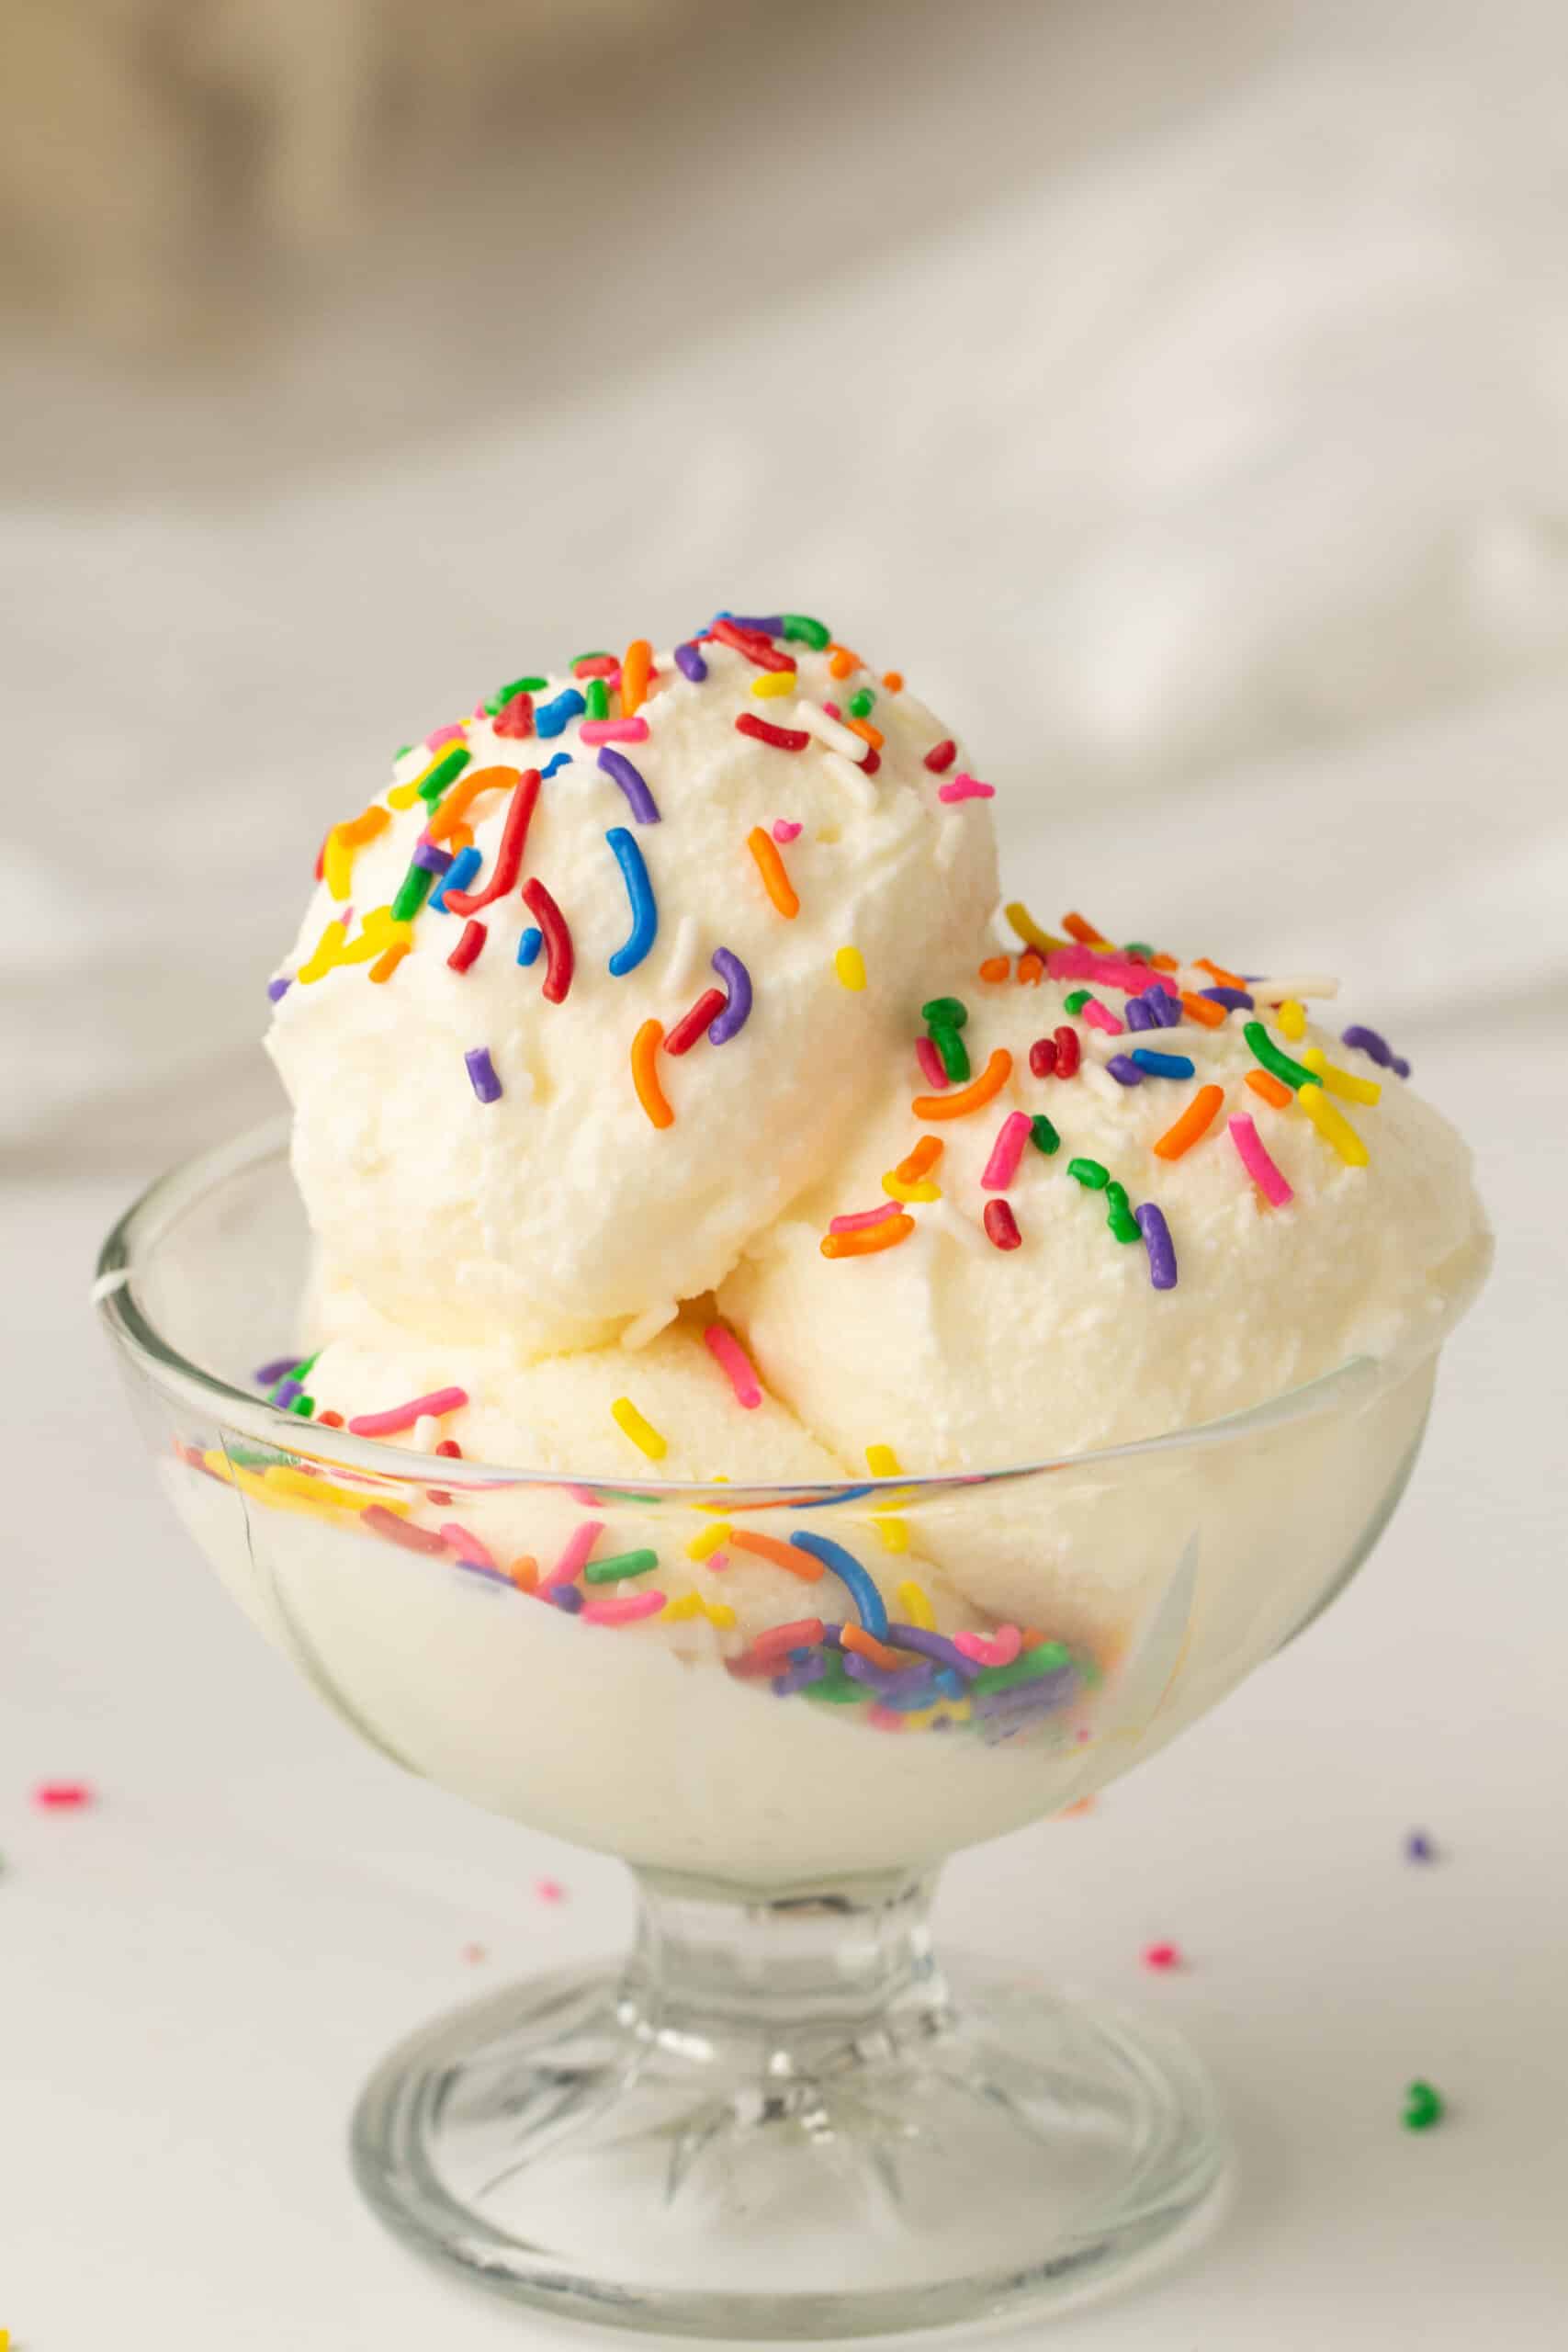
I love simple desserts like this because they're cozy, they always turn out smooth, and they feel like the perfect little treat after a long day. Vanilla might sound basic, but honestly it's the best base for toppings, mix-ins, or sundaes.
You'll love this one if you want an easy, beginner-friendly dessert that tastes like something you'd get at an ice cream shop but takes barely any effort. Plus the Ninja Creami does literally all the work for you.
Things to Know Before Making Vanilla Ninja Creami Ice Cream
- For the smoothest texture, whisk until the sugar fully dissolves.
- You can swap vanilla pods for vanilla extract if you want something quicker.
- Freeze the pint on a completely flat surface so it blends evenly.
- A tiny splash of milk during the second spin helps fix any crumbly texture.
This is the recipe I make when I want something sweet without committing to a whole baking project. It's simple, cozy, and goes with everything.
If you're into easy ice cream recipes, you'll love this Cookies and Cream Ninja Creami Ice Cream, Strawberry Cheesecake Ninja Creami Ice Cream, Mint Chocolate Chip Ninja Creami Ice Cream
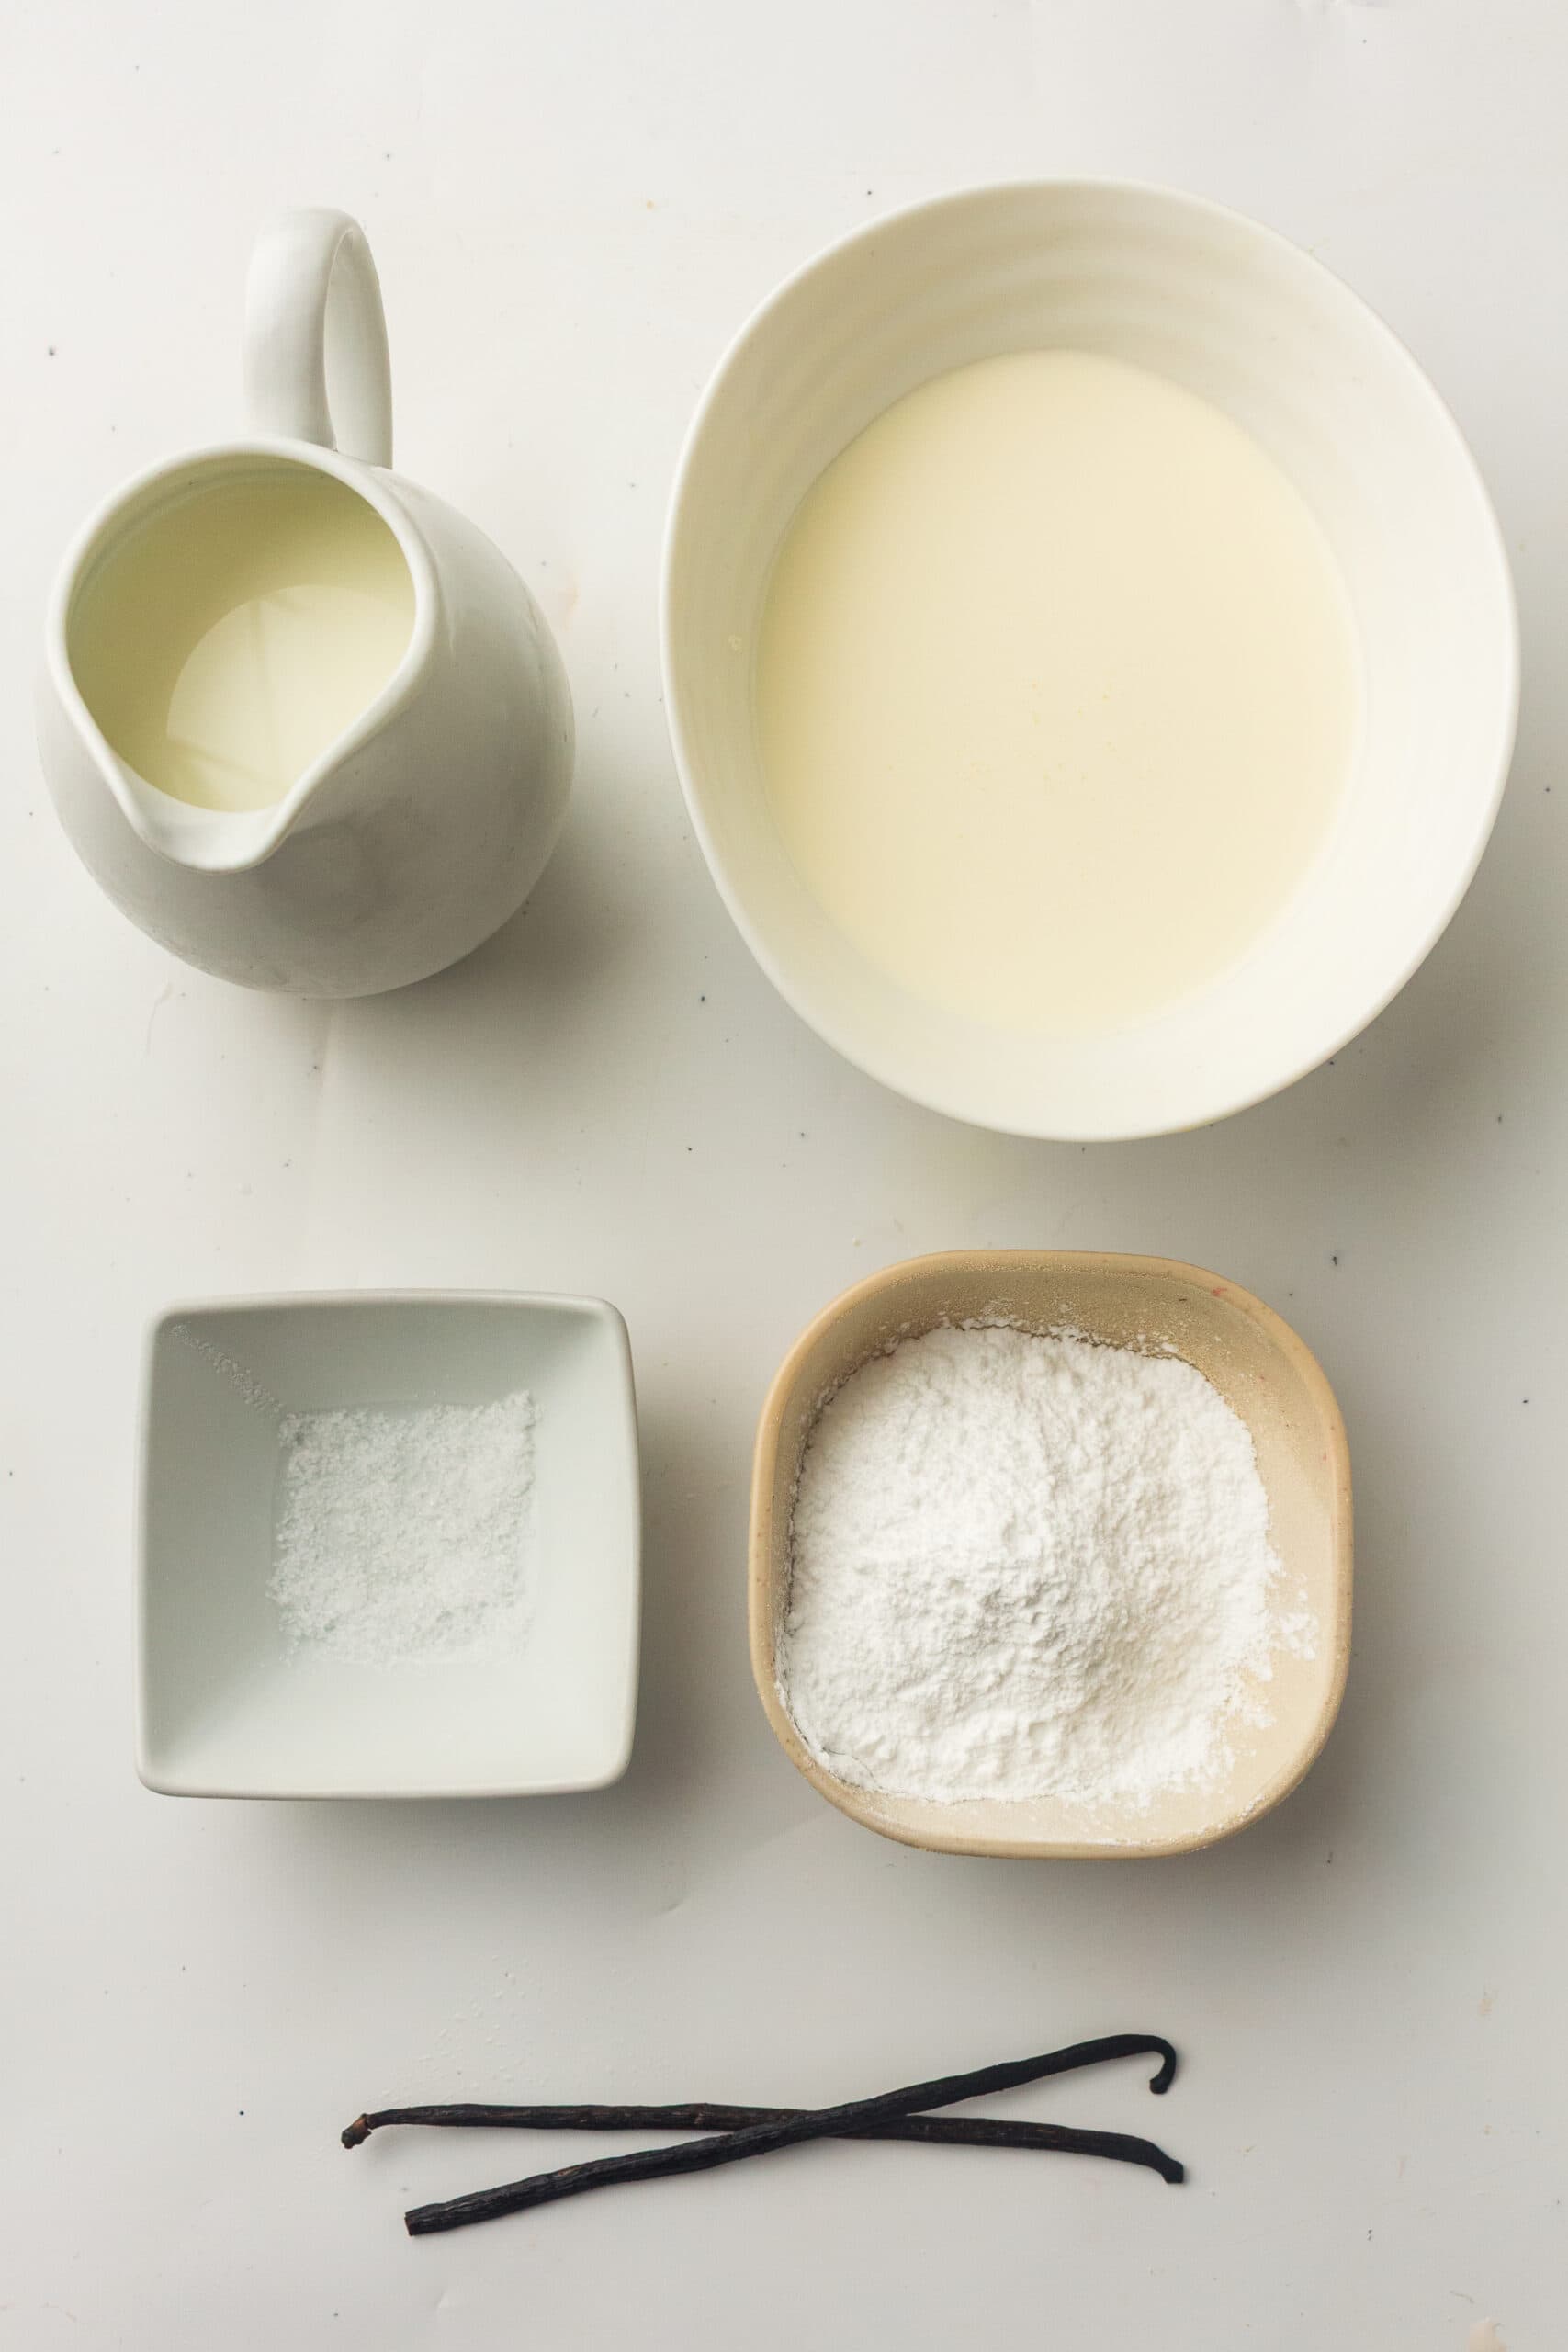
Ingredients You'll Need
• Whole milk: creates a smooth, silky base
• Heavy cream: adds richness and that classic ice cream texture
• Confectioners' sugar: dissolves fast and keeps the ice cream soft
• Vanilla pods or extract: brings all the flavor
• Salt: just a pinch to balance the sweetness
Scroll to the recipe card for exact measurements.
How to Make Vanilla Ninja Creami Ice Cream
Step 1: Split the vanilla pods lengthwise and scrape out the seeds. Add the seeds, whole milk, heavy cream, confectioners' sugar, and salt to a mixing jug. Whisk until everything is smooth and the vanilla is fully mixed in.

Step 2: Pour the mixture into your Ninja Creami pint, stopping just below the fill line. Secure the lid and freeze for a full 24 hours so it sets evenly.
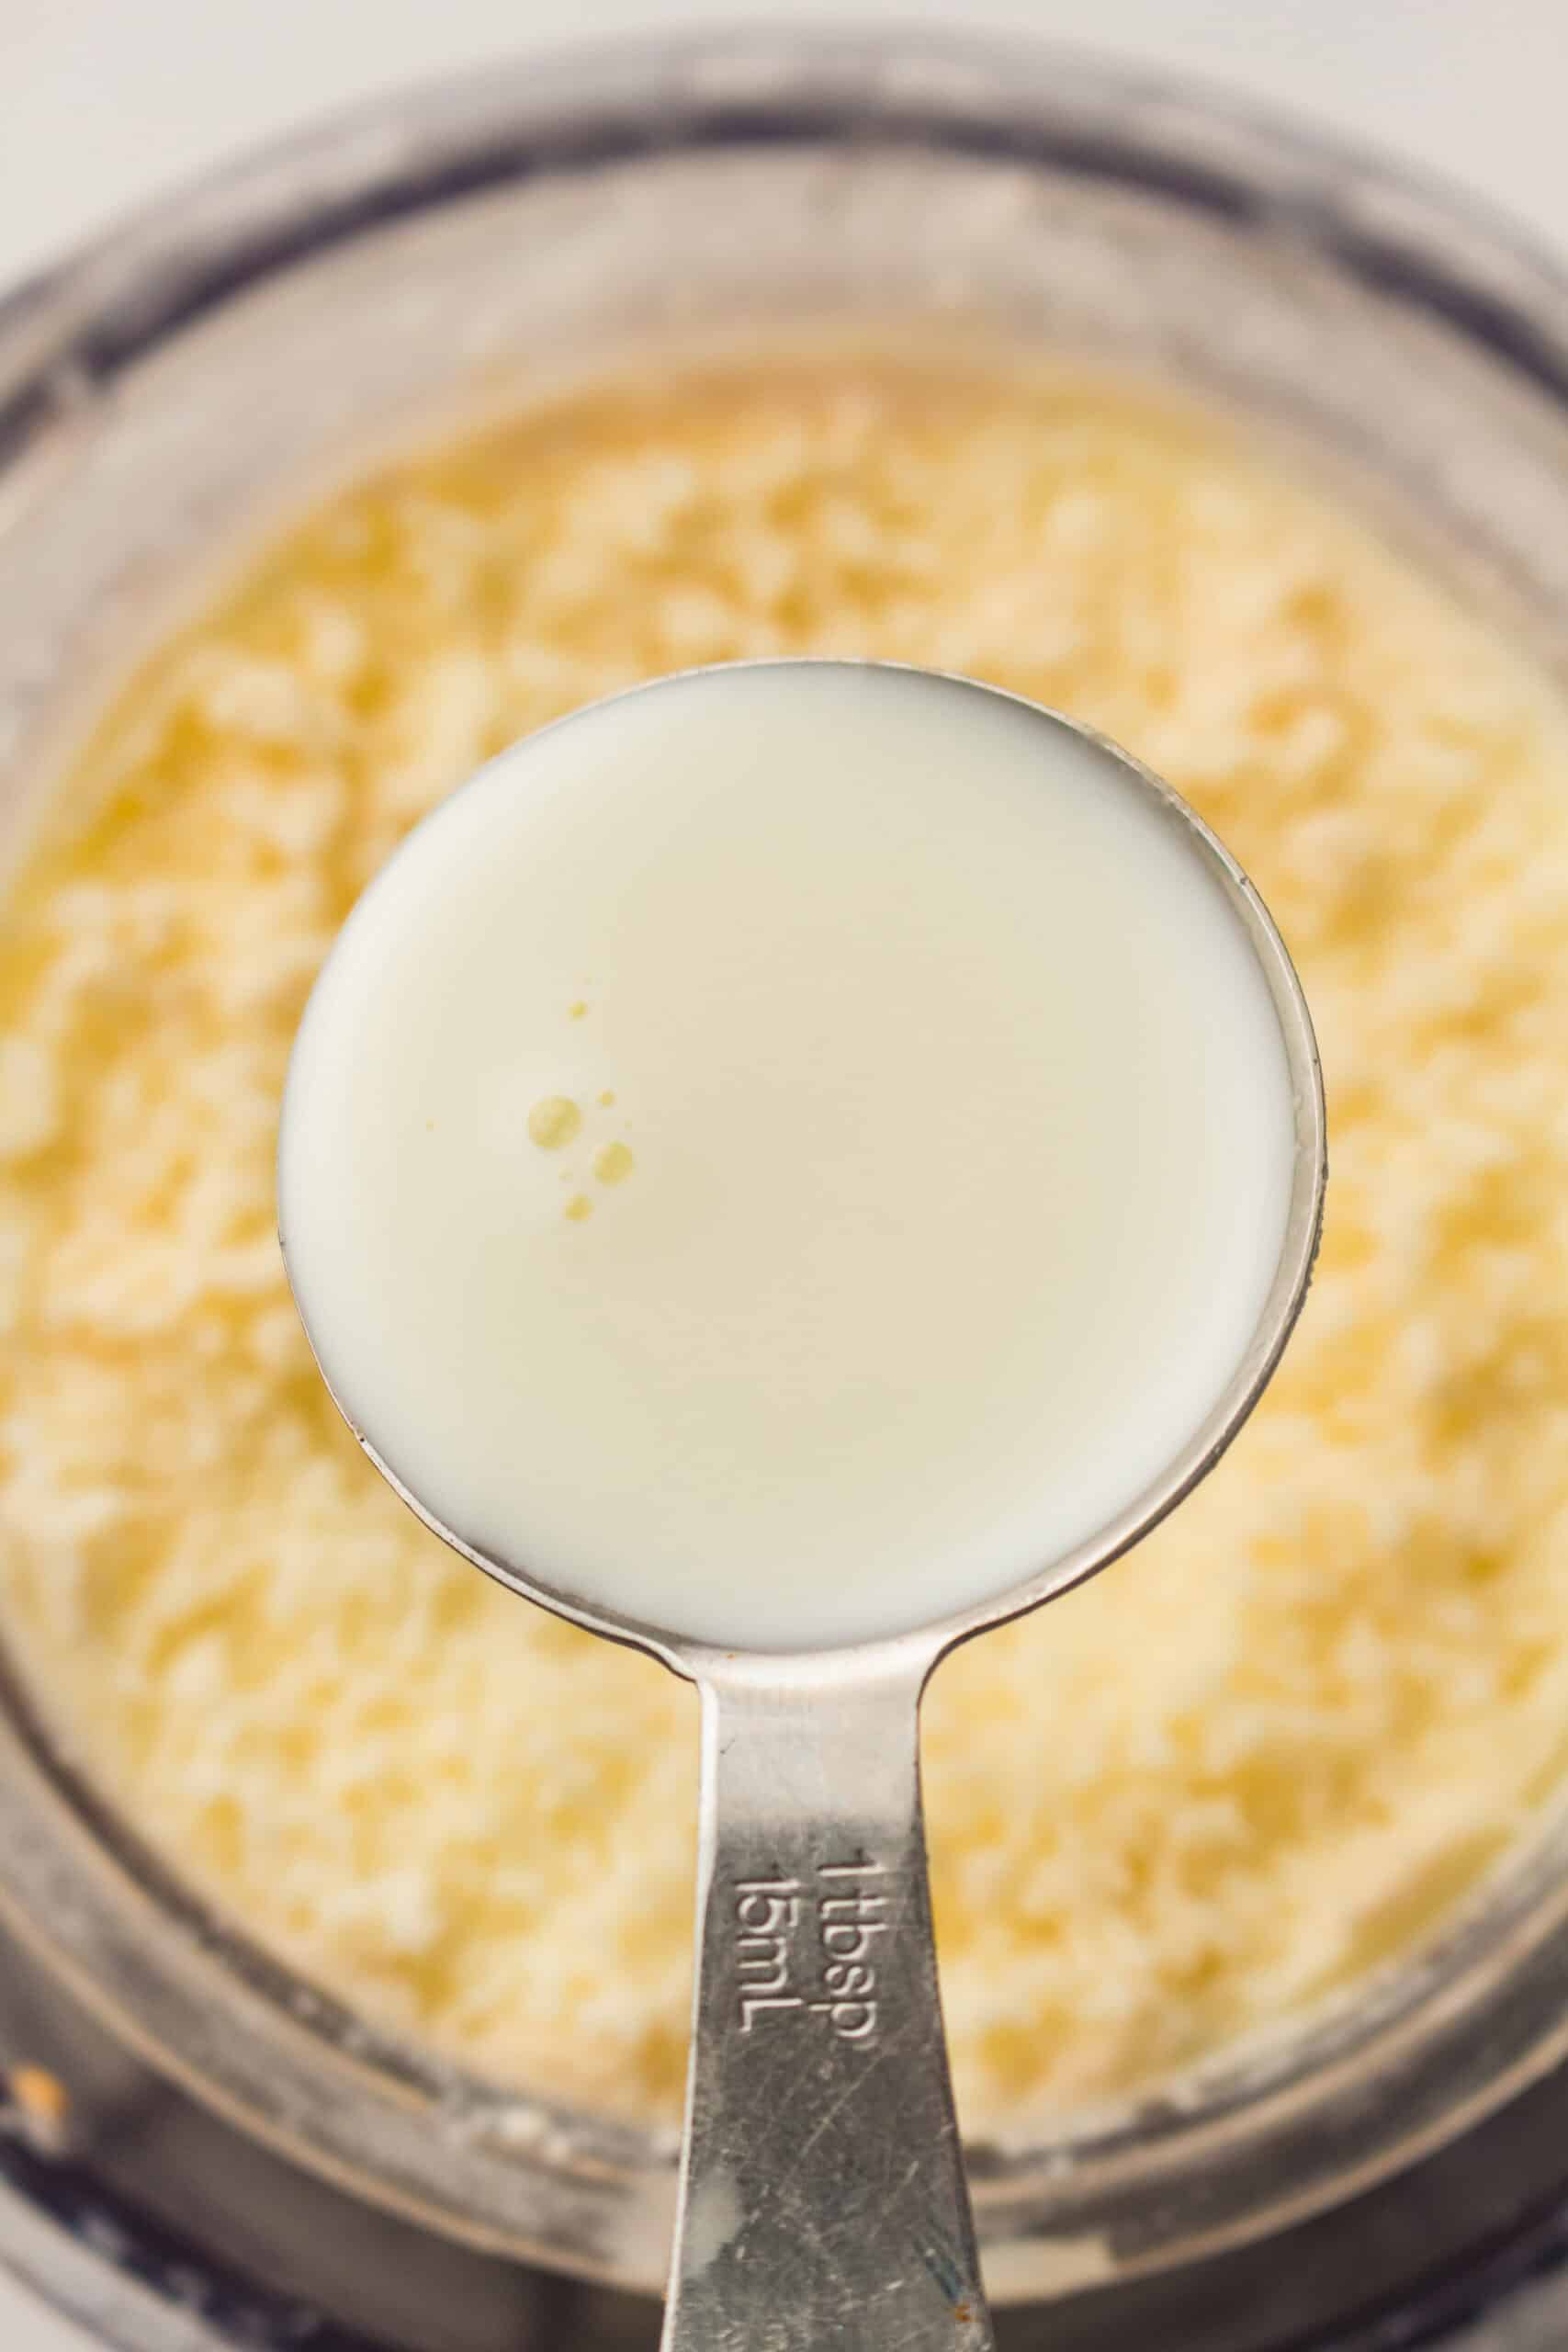
Step 3: Place the solid pint into the Ninja Creami and run the Ice Cream cycle. If it looks powdery or crumbly after the first spin, add 1-2 tablespoons of milk into the center and run the Mix-In cycle until creamy.
Step 4: Serve soft and fresh or freeze for 1-2 hours if you prefer a firmer scoop.
Substitutions and Variations
- Swap vanilla pods for vanilla extract for a quicker option
- Add crushed Oreos or cookie dough bites after the first spin
- Make it fruity by mixing in strawberry jam or blueberries
- Add caramel or hot fudge for a sundae-style bowl
What to Serve with Vanilla Ninja Creami Ice Cream
Serve with brownies, warm cookies, apple crisp, or anything that pairs well with vanilla. It also makes a great base for milkshakes or layered sundaes if you want something extra fun.
Storage and Freezing
Store your ice cream in the Ninja Creami pint with the lid on for up to 2 weeks. Let it sit out for 5-10 minutes before serving so it softens to the perfect texture.

FAQs
Can I use vanilla extract instead of pods?
Yes. Use 1 to 1½ teaspoons of vanilla extract. It still tastes amazing.
Can I use low-fat milk?
You can, but the ice cream won't be as creamy. Whole milk gives the best results.
Why is my Creami ice cream crumbly?
It happens when it freezes very solid. Add 1-2 tablespoons of milk and press Re-Spin.
Can I double this recipe?
Yes. Just freeze in two separate pints. Creami pints must stay under the fill line.
More Easy Ninja Creami Ice Cream Recipes
- Ninja Creami Holiday Ice Cream Recipes (1 Base + 12 Flavors)
- High Protein Vanilla Ice Cream (Ninja Creami)
- S'mores Ninja Creami Ice Cream


Easy Vanilla Ninja Creami Ice Cream
This Vanilla Ninja Creami Ice Cream is ultra-smooth, perfectly creamy, and so easy to make with just a few simple ingredients. It's the best classic base for toppings, mix-ins, and sundaes, and the Creami gives it that soft, scoopable texture every single time. Perfect for cozy nights, last-minute dessert cravings, or anytime you want a quick homemade treat without the effort.
Ingredients
- 240 ml whole milk
- 120 ml heavy cream
- 70 g confectioners' sugar
- 2 whole vanilla pods, split and seeds scraped (or 1-1½ teaspoon vanilla extract, if preferred)
- Pinch of salt
Instructions
-
Split both vanilla pods lengthwise with a sharp knife. Scrape out the seeds.
-
Add the vanilla seeds, whole milk, heavy cream, confectioners' sugar, and salt to a mixing jug.
-
Whisk until the sugar has fully dissolved and the vanilla seeds are evenly dispersed.
-
Pour the mixture into your Ninja Creami pint container. Secure the lid and freeze for 24 hours on a flat surface.
-
The next day, remove the pint from the freezer. Place the pint into the Ninja Creami and run the Ice Cream cycle.
-
If the texture is crumbly, add 1-2 tablespoons of milk into the centre and press Mix-In once.
-
Serve immediately for a soft, creamy texture, or freeze again for a firmer scoop.
Recipe Notes
• Freeze the pint on a totally flat shelf
• Add milk and re-spin if the texture seems powdery
• Vanilla extract works great if you're in a rush
• For extra flavor, stir in crushed cookies on the Mix-In cycle
• Let the ice cream soften for a few minutes before scooping


Leave a Reply